
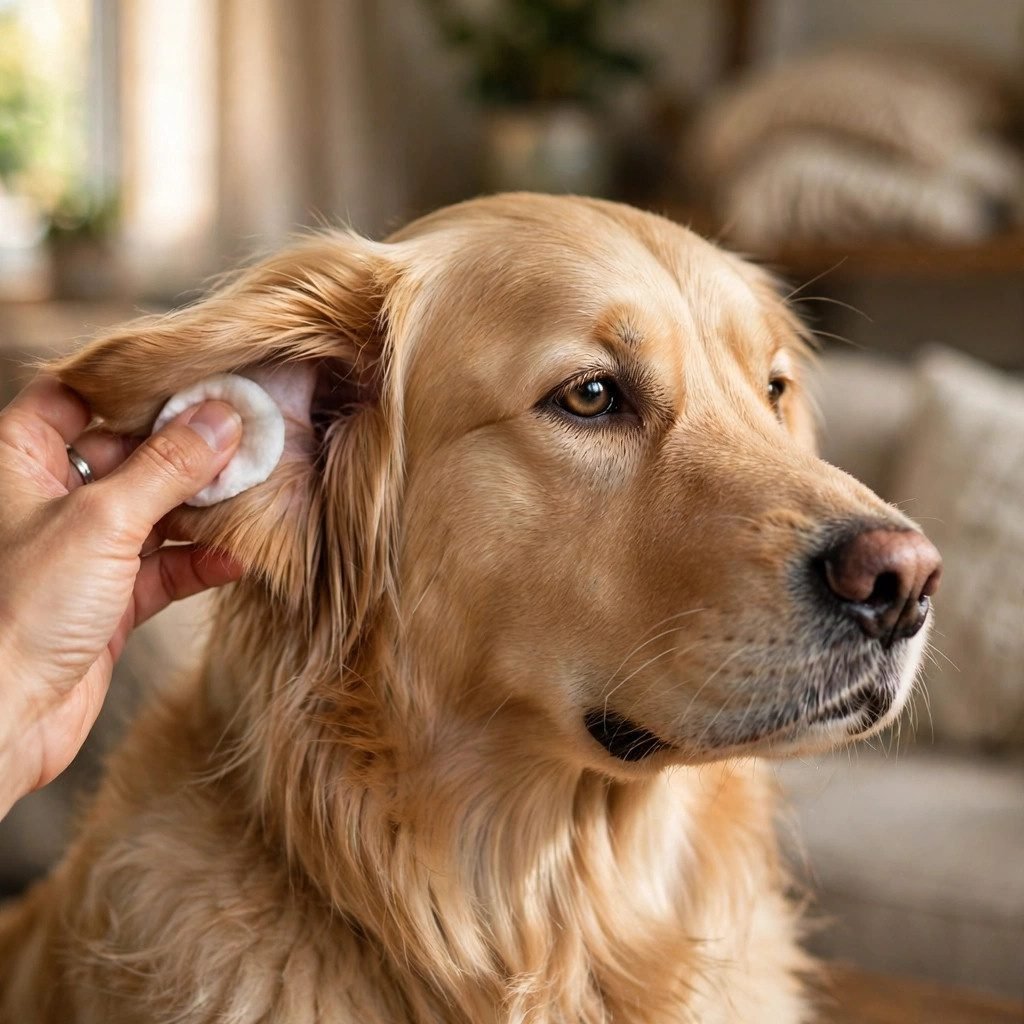

The first time I tried to clean my dog’s ears, I did everything wrong — wrong liquid, a cotton bud pushed too far, and a wrestling match with a very confused spaniel across the kitchen floor. He forgave me, but I walked away knowing I needed to learn how ears work before touching them again. This guide is the one I wish someone had handed me that afternoon: plain, practical, and written for people who have never done this before.
Published: May 8, 2026 | Last updated: May 8, 2026
Quick Tips
- Use a vet-approved ear cleaning solution made for dogs — never alcohol, peroxide, or vinegar unless your vet tells you to.
- Only clean the parts of the ear you can see. Never push anything down the ear canal.
- Wipe with cotton balls or gauze, not cotton buds (Q-tips), which can push debris deeper or injure the ear.
- Let your dog shake after you apply the solution — the shake does half the cleaning for you.
- Clean after baths and swims, since trapped moisture is the fastest route to irritation.
- If you see swelling, a strong smell, dark discharge, or your dog cries when touched, stop and call your vet instead.
- Pair cleaning with a treat so your dog sees it as a good deal.
Why Dog Ears Need Cleaning at All
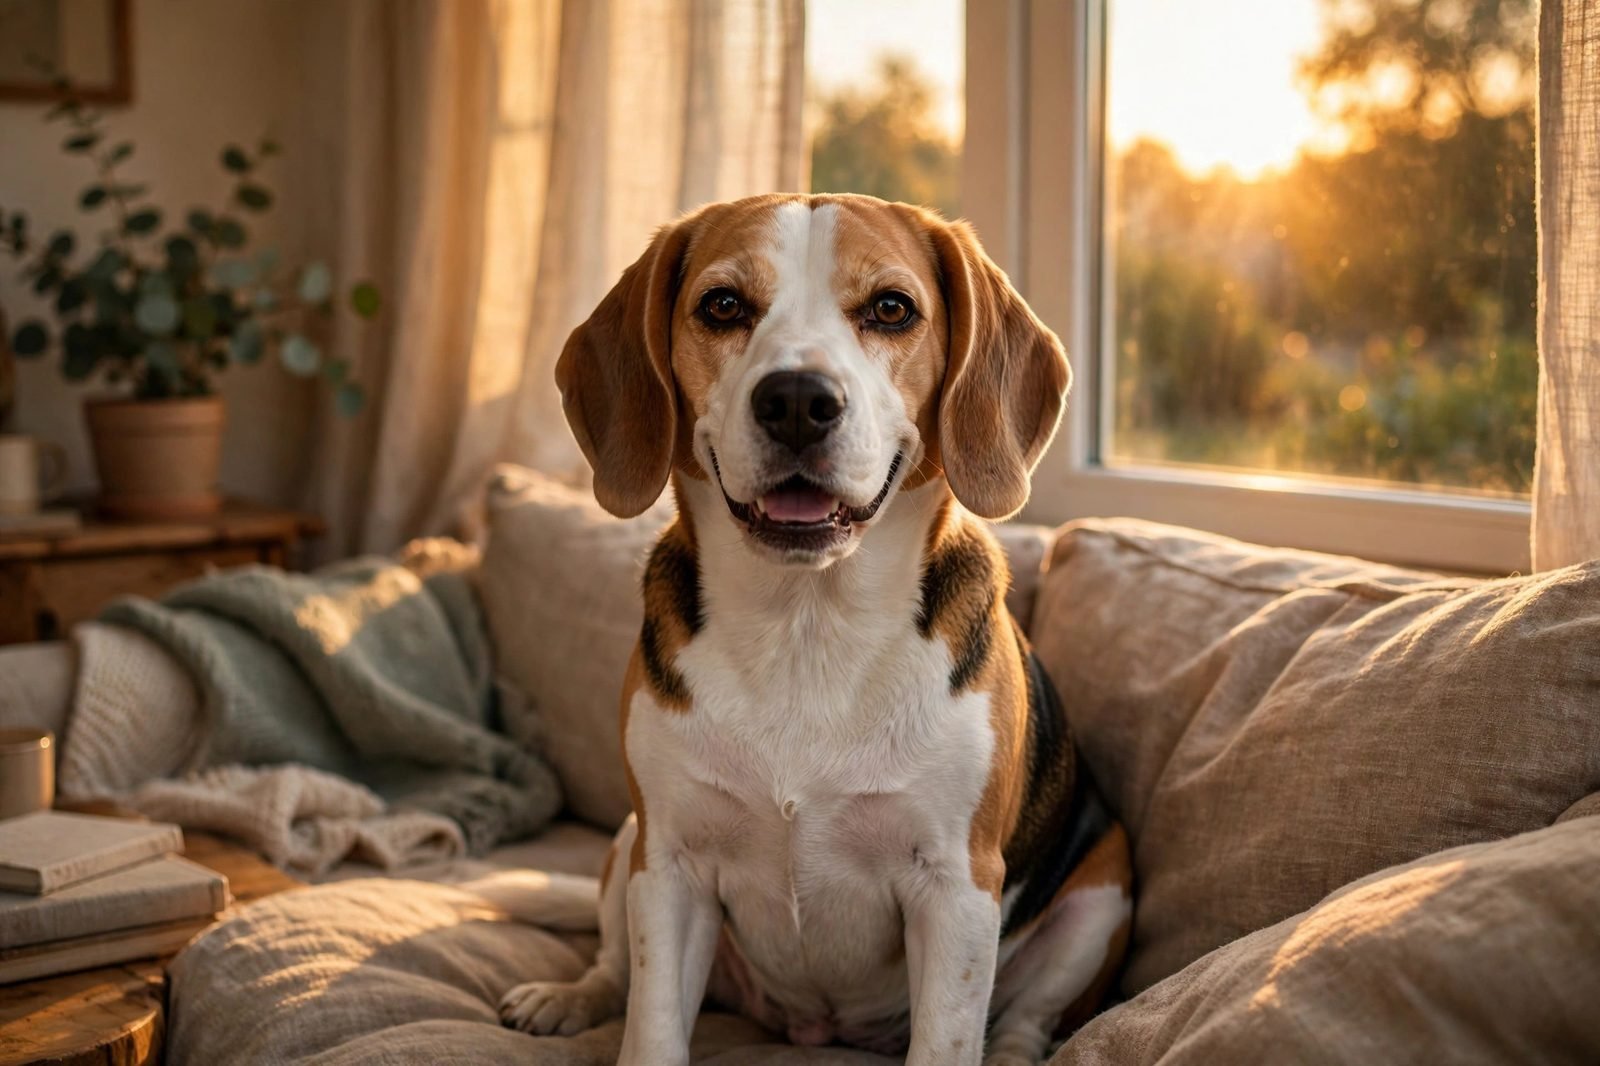
Dogs produce earwax the same way we do — it traps dust and debris before they travel deeper. For most dogs that system works fine alone. But some dogs are wax factories: floppy-eared breeds like spaniels, bassets, and beagles trap heat and moisture under those long flaps, and dogs that swim a lot, dogs with allergies, and dogs in humid climates need more help.
When I got my first dog, nobody told me any of this. About three months in, his ears smelled faintly like old bread when he nuzzled me. That yeasty, slightly sweet smell is the classic sign wax and moisture are building up faster than the ear can clear them. A quick clean sorted it; ignored, it could have become an infection — exactly the avoidable vet bill nobody wants.
How often should you clean?
Floppy ears or heavy wax buildup might mean weekly checks; upright ears on a rarely-swimming dog might only need a look now and then.
The best habit isn’t a rigid schedule — it’s a quick check folded into your routine. When you’re cuddling on the sofa, flip the flap back and look. Pink and clean-looking? Leave them alone. Visible wax or a bit of smell? Time for a clean. And resist over-cleaning: scrubbing healthy ears every other day irritates the skin inside.
What You’ll Need (and What to Avoid)
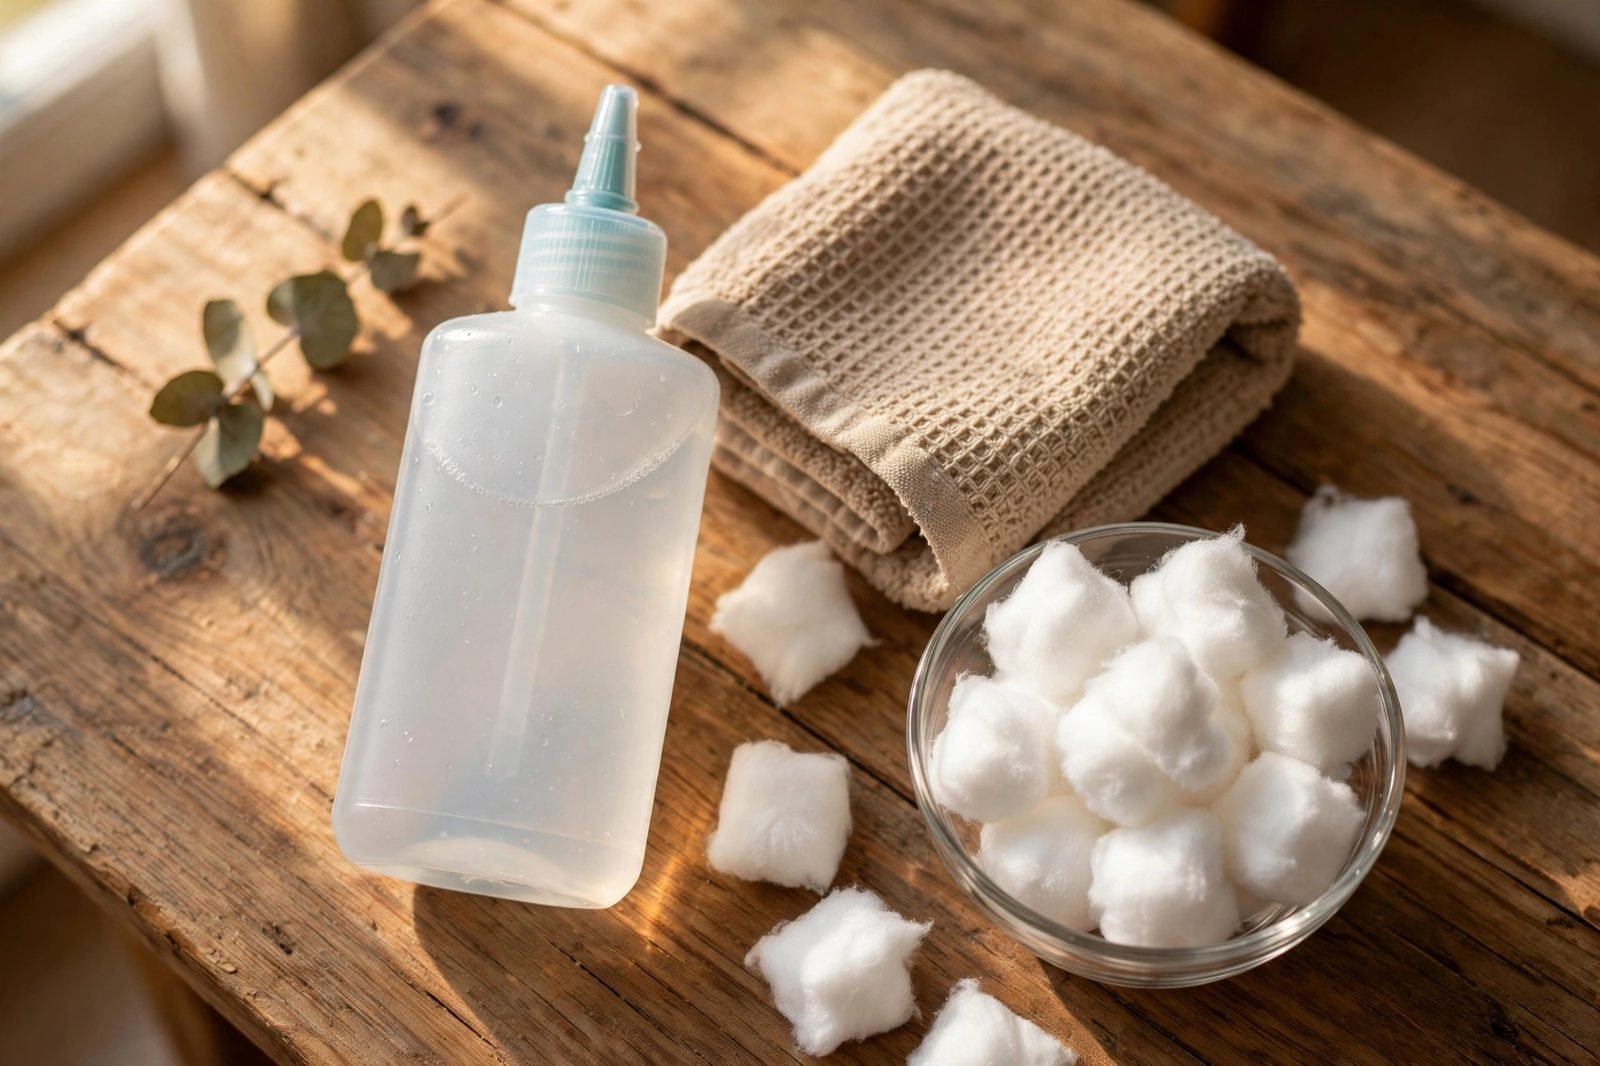
You don’t need much. Here’s the kit:
A vet-approved ear cleaning solution for dogs. The one non-negotiable item. These loosen wax without stinging, and many include a mild drying agent that helps leftover moisture evaporate. Your vet clinic or pet shop will stock them — when in doubt, ask your vet; mine recommended one in about ten seconds and it lasted us months.
Cotton balls or squares, and maybe some gauze. Soft, absorbent, and too big to wedge into the canal. Keep a pile ready — you’ll go through a few per ear.
A towel you don’t care about. The head shake is coming, and whatever is in the ears is about to be on you, the wall, and possibly the ceiling. The shake is genuinely useful — it just has range.
Treats. Small, high-value ones — the goal is that your dog hears the bottle rattle and thinks “oh good, the ear thing, which means cheese.”
And the avoid list: no rubbing alcohol, no hydrogen peroxide, no vinegar mixes from a forum, and no essential oils. All can sting or irritate the delicate skin inside the ear. Skip cotton buds entirely too — one head jerk at the wrong moment and you’ve got a real problem. For fiddly folds, wrap gauze around your finger instead.
The Step-by-Step: Cleaning Your Dog’s Ears
Pick a calm moment — not right after a walk when your dog is wired, and not when they’re deeply asleep. I like doing it after an evening walk when everyone’s winding down. Get supplies within arm’s reach first, because once you start you don’t want to be rummaging through cupboards with a soapy-eared dog giving you the look.
Step 1: Settle your dog and have a look first
Get your dog comfortable, then gently lift the ear flap and look inside. A little wax is normal; pink skin is good. If you see lots of dark debris, swelling, redness, a bad smell, or your dog flinches at your touch — stop. Don’t clean; call your vet. Pain is your dog telling you something needs professional eyes.
Step 2: Fill the ear canal with solution
Hold the ear flap up with one hand to straighten the canal slightly, and squeeze the cleaning solution in with the other — enough to fill the canal. The bottle’s instructions will say so, which sounds alarming the first time but is fine. Rest the nozzle at the opening and squeeze; don’t jam it in deep.
Step 3: Massage the base of the ear
The most important step — and the one people skip. With the flap still up, gently massage the base of the ear for twenty to thirty seconds; you’ll feel the canal’s cartilage under your fingers. You should hear a squelch, which is deeply unpleasant and completely correct: the solution is working its way down, loosening wax and debris.
Step 4: Let them shake
Step back, hold the towel up as a shield, and let your dog shake. The shake flings the loosened wax and dirty solution up and out — trying to wipe everything out manually is fighting nature. Let physics help you.
Step 5: Wipe what you can see
Wipe the inside of the ear flap and the visible part of the canal opening with a cotton ball, clearing out what the shake brought up. Use fresh cotton balls until one comes away basically clean. Golden rule: only clean what you can see. The solution and the shake handle the deeper stuff.
Step 6: Treat, praise, done
This isn’t optional fluff — it’s training. Every calm cleaning that ends with something delicious teaches your dog this routine is safe. A small treat after each ear, a better one at the end, and over time most dogs go from tolerating this to not minding it at all.
Cleaning After Baths and Swims
If your dog swims or gets bathed regularly, ears deserve extra attention. Trapped water is one of the most common reasons ears go from “a bit waxy” to “irritated and smelly” — shaking gets most of it out, but not all, especially under floppy flaps that seal everything in like a lid.
The fix is simple: do a quick clean after every bath and swim. You don’t need the full production — solution, a short massage, a shake, and a wipe is usually enough. The drying agents in proper ear solutions are made exactly for this, and it pairs naturally with bath day: I treat ear cleaning as the closing act of bath time. If you’re still figuring out bath frequency, my guide on how often you should bathe a dog breaks down what actually matters (spoiler: it’s less often than most new owners think).
Signs You Should Stop and Call the Vet
This is general wellness info, not medical advice — I’m not a vet, and ear problems are one of those areas where guessing wrong costs your dog discomfort. Cleanings handle normal wax and mild buildup, not infections. Call your vet if you notice any of these:
A strong or foul smell that doesn’t go away after cleaning, or comes back within a day or two. A faint yeasty whiff is one thing; a smell that fills the room is another.
Dark, crumbly discharge like coffee grounds — this can indicate ear mites, which need proper treatment, not a cotton ball.
Redness, swelling, or heat in the flap or canal. Healthy inner ears are pale pink. Angry red is not a cleaning job.
Pain signals: yelping when the ear is touched, constant head tilting to one side, or frantic scratching at one ear. A dog in pain needs a vet, not a home remedy.
Balance problems or a head tilt that won’t resolve. Ears and balance are connected — anything neurological-looking is a straight-to-the-vet situation. There’s no prize for toughing it out at home: a vet can look down the canal with proper equipment and sort it properly. Home cleaning is maintenance; diagnosis is their job.
Making It a Habit (Without the Wrestling Match)
The difference between an easy ear-cleaning dog and a wrestling-match dog is almost entirely about the first few experiences. If your dog is new to this — a puppy, a rescue, or an adult who’s never had it done — go slower than you think you need to. Day one might just be lifting the flap, looking, treating, done. Build up over several days. It feels silly and slow, but you’re buying years of easy five-minute cleanings with about a week of patience.
Keep the solution at room temperature — cold liquid in the ear is startling, and it’s an easy thing to get right. And bundle ear checks into a wider grooming session: I do ears, a quick nail check, and a brush-through every week or two. If nail trimming is the part you’re nervous about, my guide on how to trim your dog’s nails walks through it the same gentle way.
Frequently Asked Questions
Can I use water to clean my dog’s ears?
Plain water isn’t ideal. It doesn’t dissolve wax well, and it adds moisture to exactly the place you’re trying to keep dry. A proper ear solution loosens debris and then helps the ear dry out afterward. If you’re ever caught without solution, a gentle wipe of the visible flap with a damp cloth is fine as a stopgap — just don’t squirt water into the canal.
How do I clean my dog’s ears if they won’t sit still?
Don’t force it — a stressed, thrashing dog and a bottle of liquid is a bad combination. Break it into tiny steps over several days: touch the ears and treat, lift the flap and treat, touch the bottle to the ear and treat. Enlist a helper to hold and feed treats if you can. If your dog is genuinely panicking rather than just fidgety, talk to your vet or a trainer first.
Is it normal for one ear to be dirtier than the other?
Yes, very. Dogs often sleep on one side, which traps heat and moisture in that ear, or one ear might just produce more wax. Asymmetry alone isn’t a worry — but if one ear suddenly gets much worse, smells bad, or the dog starts favoring it, get a professional look.
My dog shakes his head a lot after I clean his ears — is that normal?
A good shake right after cleaning is normal — that’s the whole point of step four. But if head shaking continues for hours, starts days after a cleaning, or comes with scratching and redness, that’s not normal. It could mean irritation or the start of an infection, and it’s worth a vet visit rather than another round of cleaning.
Do I need to clean my puppy’s ears?
Most puppies don’t need full cleanings — their ears are usually fine alone. What puppies do need is handling practice: gently touching, lifting, and looking at their ears regularly so they’re relaxed about it later. Start the habit early with treats, and only do real cleanings if you see wax buildup.