
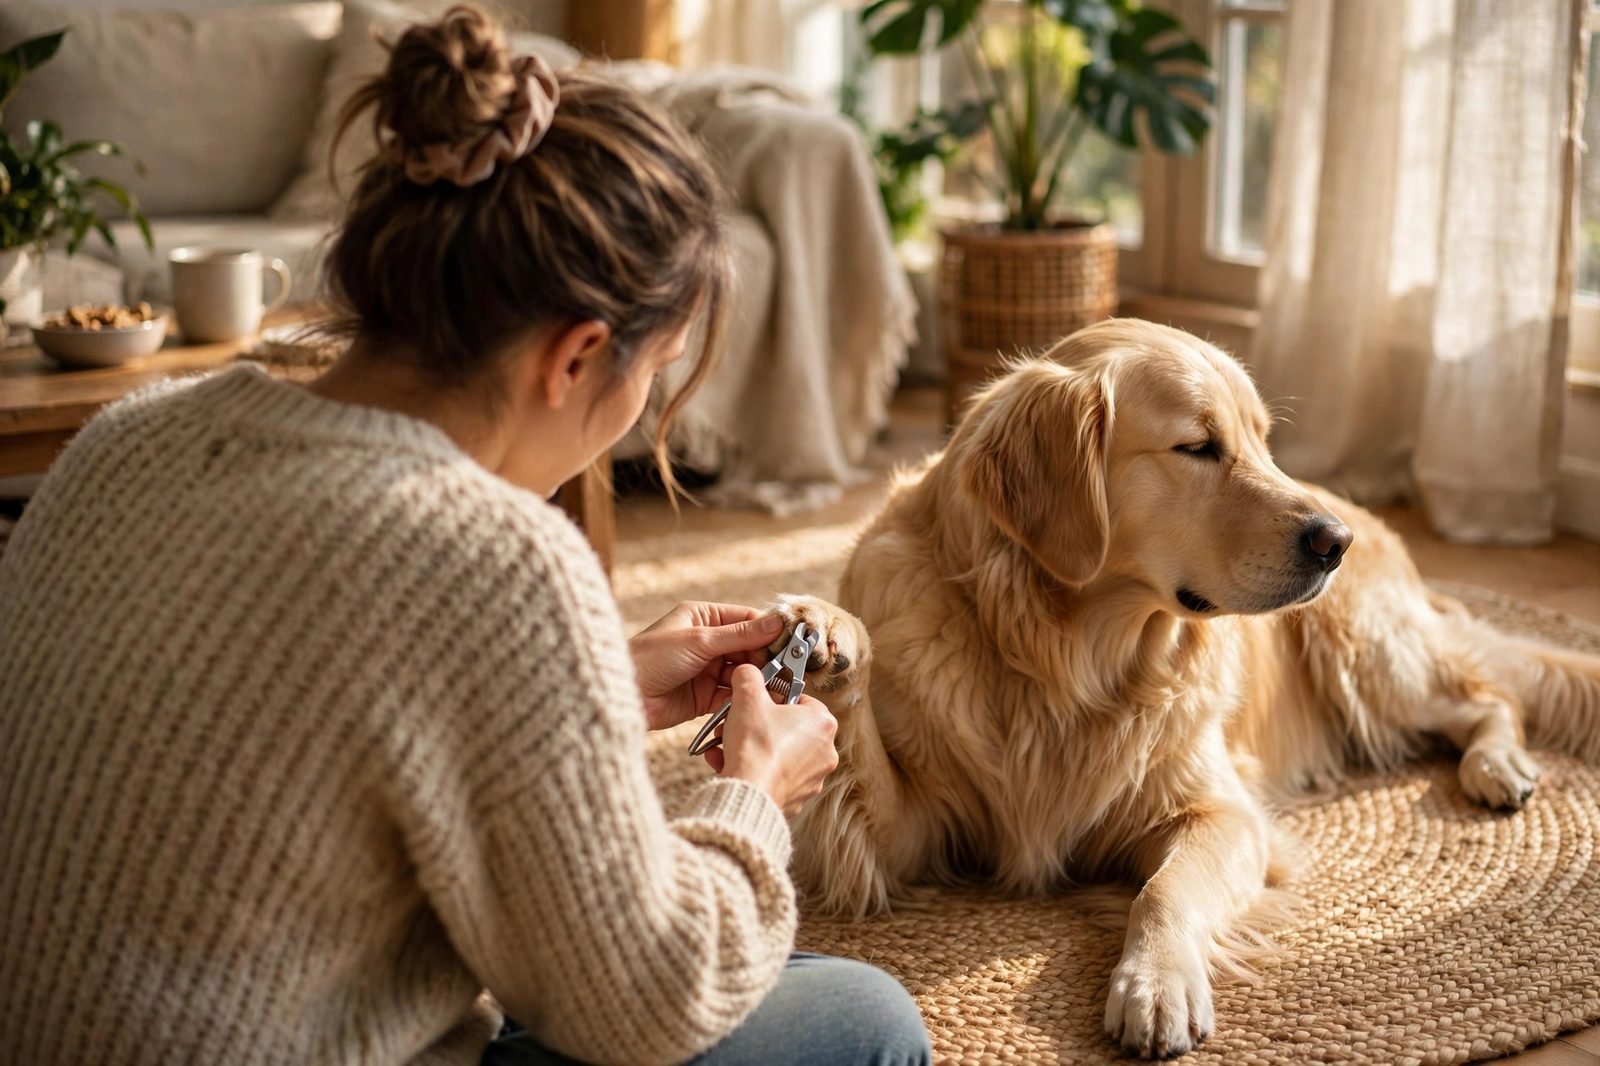

Of all the dog-care tasks that made my palms sweat as a new owner, nail trimming was the undisputed champion. Baths? Fine. Brushing? Pleasant, even. But the first time I held those clippers near Milo’s paw, my hands were shaking so badly I’m surprised I didn’t poke an eye out. What if I cut too deep? What if he bled? What if he never trusted me again? So I did what many nervous owners do: I avoided it entirely — until Milo’s nails started clicking on the kitchen tiles like tap shoes, and I knew I’d run out of excuses.
Here’s what I wish someone had told me back then: trimming your dog’s nails is a learnable skill, not a talent. Millions of ordinary owners do it safely at home. This guide walks you through everything step by step: the tools, how often to trim, how to find the quick, what to do if you cut too short, and the desensitization routine that turned my nail-phobic lab into a dog who voluntarily hands me his paw.
Published: May 6, 2026 | Last updated: May 6, 2026
Quick Tips
- Most dogs need a trim every 3–4 weeks — the click test on hard floors is your cue.
- Trim in good light so you can see the nail clearly.
- Cut small slices, not big chunks — you can always take more off.
- Keep styptic powder nearby in case you nick the quick.
- One paw per session is a perfectly valid starting point.
- End every session with treats, even if you only trimmed one nail.
- Dogs who walk on pavement often need trims less frequently.
Why Nail Trims Actually Matter
It’s tempting to treat nail trims as cosmetic, but overgrown nails cause real problems. Long nails change how a dog’s foot hits the ground — toes splay, the foot flattens, and over time it can cause joint discomfort, especially in older dogs. Really overgrown nails can curl into the paw pads, which is as painful as it sounds. Long nails can also snag on blankets and tear — a bloody mess nobody wants at midnight.
How Often? The Click Test
Most dogs need their nails trimmed every three to four weeks. But the real answer is: whenever you hear clicking on hard floors. Stand your dog on tile or wood — if the nails tap-tap as they walk, they’re too long. Nails should just barely clear the ground when the dog stands normally.
Some dogs naturally wear their nails down. Dogs who walk daily on pavement or concrete — I go into walking routines in my guide on how often to walk your dog — often need trims far less frequently, because the rough surface files the nails with every step. Milo, who walks mostly on sidewalks, can go six weeks. Pip, who prefers the grassy park, needs hers done monthly like clockwork. Dewclaws — the little “thumb” nails higher up on the leg — never touch the ground, so they never wear down naturally. Check them every time; they’re the most commonly forgotten nails and the most likely to overgrow and curl.
Choosing Your Tool: Clippers vs. Grinder
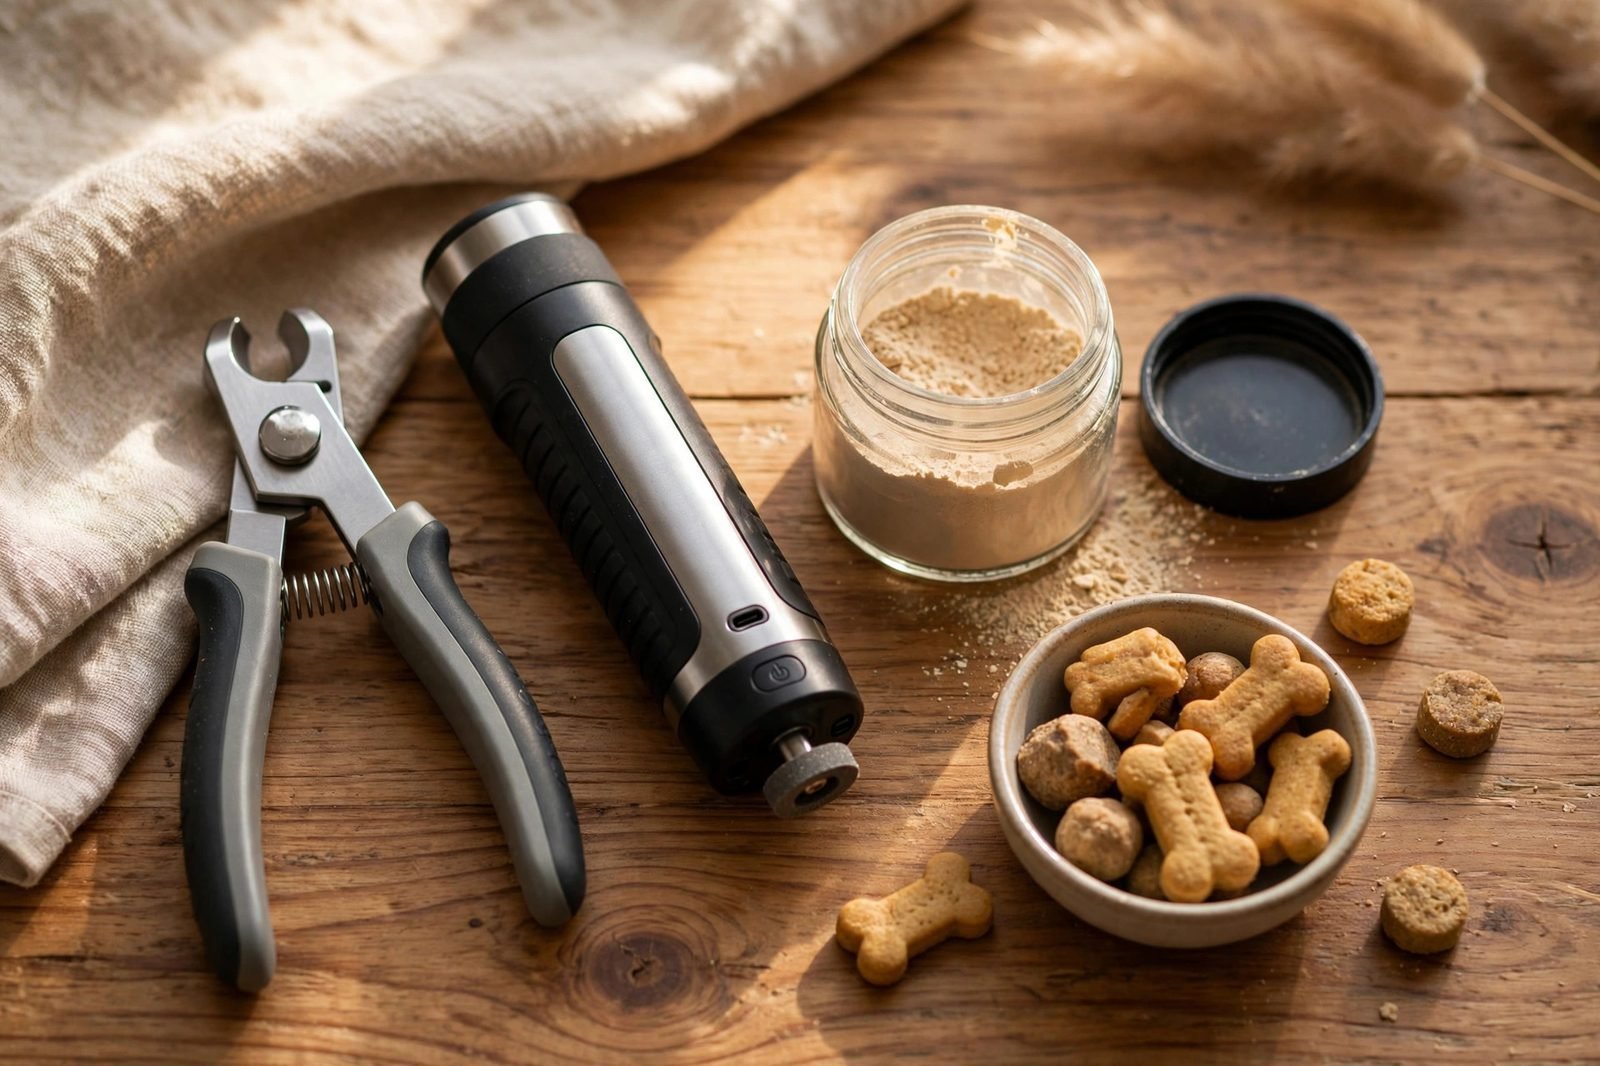
You have two main options, and both work. The right one is whichever you’ll actually use without dread.
Guillotine and scissor clippers
Scissor-style clippers (they look like pliers) suit medium and large dogs; guillotine-style (nail slides into a hole, blade slices across) work well for small and medium dogs. Good clippers are sharp — cheap dull ones crush the nail instead of cutting it, which hurts and makes dogs hate the process. Replace them when they stop cutting cleanly. I started with scissor clippers for Milo because they felt more controllable to my shaky beginner hands.
Nail grinders
A grinder files the nail down gradually instead of cutting. Many nervous owners prefer them because there’s no single dramatic “cut” moment. Downsides: noise, vibration, and slower progress. Pip tolerates the grinder beautifully; Milo acts personally insulted. You can also combine both — clip the bulk, then smooth edges with a grinder.
Finding the Quick (the Part Everyone Fears)
The “quick” is the blood vessel running inside the nail. Cut into it and it bleeds — not dangerously, but dramatically, and it stings. This is the entire source of nail-trim anxiety, so let’s demystify it.
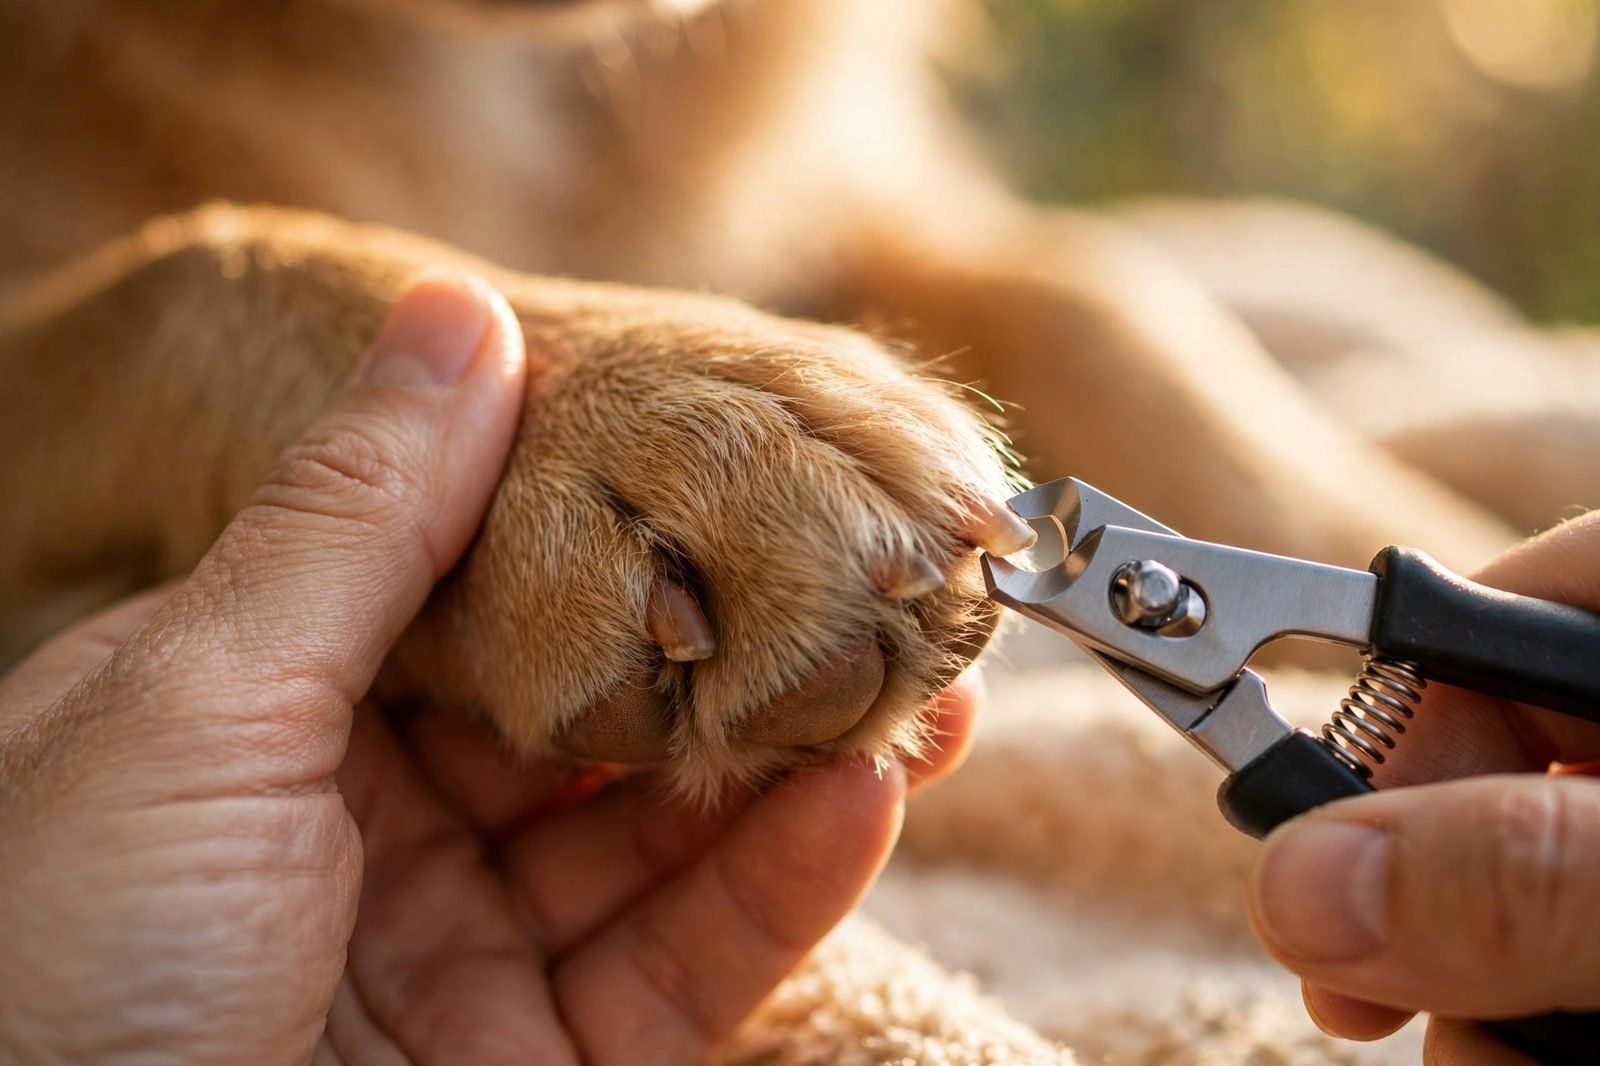
On light-colored nails, you can often see the quick as a pinkish shadow. The rule: cut where the nail starts to curve downward, staying well clear of the pink. On dark nails you can’t see it at all — cut in tiny slices and check the cut surface after each one. The nail goes from dry and flaky at the tip to a darker, smoother dot in the center as you approach the quick. Stop when you see it. When in doubt, stop early — you can always trim again in a few days.
The styptic powder safety net
Buy styptic powder (or a styptic pencil) before your first trim and keep it within arm’s reach every time. If you nick the quick, a pinch of powder pressed onto the nail stops the bleeding within a minute or two. It will happen eventually — it happened to me on Milo’s third trim, and to nearly every owner I know. The dog yelped, I apologized about forty times, the bleeding stopped, and he let me finish the paw ten minutes later. It’s a rite of passage, not a catastrophe. Cornstarch works as a backup if you’re caught without styptic powder.
The Desensitization Plan (Do This Before You Cut Anything)
If your dog currently runs at the sight of clippers, don’t start by trimming. Start by rebuilding the association. This plan took Milo from “fleeing the room” to “offering his paw” in about two weeks, doing five minutes a day.
Days 1–3: clippers = treats
Put the clippers on the floor. Let the dog sniff. Treat. Touch the clippers to the paw without cutting. Treat. Click them near (not on) the paw so the dog hears the sound. Treat. You’re not trimming anything — you’re teaching the dog that clippers predict good things. Keep sessions short enough to end before the dog gets worried.
Days 4–7: handling the paws
Practice holding each paw gently for a few seconds, spreading the toes, touching individual nails. Treat generously. If the dog pulls away, wait and try again — don’t chase the paw. The goal is a dog who lets you hold a paw calmly for thirty seconds.
Days 8+: one nail at a time
Trim a single nail. Just one. Then treats, praise, and done for the day. The next day, two nails. Build up at the dog’s pace. There is zero shame in doing one paw per session for the first month — I did exactly that with Milo. Slow and positive beats fast and traumatic every single time, because a bad experience sets you back weeks while a good one compounds.
The Actual Trim: Step by Step
Set up in good light — daylight or a bright lamp, since seeing the nail clearly is half the battle. Have treats and styptic powder within reach. Get the dog settled: some owners do this with the dog lying on their side, others with the dog standing. I do Milo on the couch next to me and Pip on the floor between my knees. Whatever position keeps everyone calm.
Hold the paw firmly but gently, and isolate one nail by pressing the toe pad slightly so the nail extends. Position the clippers at a 45-degree angle, cutting from underneath upward. Take off a small slice. Check the cut surface. Take another small slice if there’s room. After each paw, treats. Talk to your dog in a calm, boring voice the whole time — narrating like a golf commentator works surprisingly well.
If the dog gets stressed — panting, pulling away repeatedly, whale eyes — stop. Not “push through one more nail” stop. Full stop, treats, try again tomorrow. A half-trimmed dog is fine; a terrified dog is a problem you’re creating for future-you.
What If You Cut the Quick?
Stay calm — your reaction teaches the dog how scary this was. Apply styptic powder with gentle pressure for about thirty seconds. The bleeding looks dramatic but stops quickly. Give the dog a treat (yes, even now — especially now), and take a break. You can finish the remaining nails another day. Then forgive yourself. Every experienced owner has done it; the ones who say they haven’t are either lying or have only trimmed twice.
When to Let a Professional Handle It
There’s no medal for DIY. If your dog is genuinely terrified despite weeks of desensitization, if nails are severely overgrown and curled, or if you can’t do it safely yourself, a groomer or vet tech will do it in minutes for a small fee. You can also ask your vet or groomer to demonstrate the technique on your dog once — watching it done confidently on your own dog is worth a hundred articles. Even this one.
Frequently Asked Questions
How short should I cut my dog’s nails?
Short enough that they just clear the ground — no clicking on hard floors. On light nails, stay a couple of millimeters clear of the pink quick; on dark nails, trim in thin slices and stop when a darker dot appears in the center of the cut surface. When unsure, cut less. Regular small trims make the quick recede gradually, so overgrown nails can be shortened over several sessions.
What if my dog won’t let me touch their paws?
That’s normal — paws are sensitive. Follow the gradual plan above: treats for clipper presence, then paw handling, then one nail at a time over days or weeks. Never force it or punish pulling away. If progress stalls after a few weeks, a groomer experienced with fearful dogs is a good next step.
Is it better to cut or grind dog nails?
Neither is objectively better. Clippers are faster and quieter but require confidence about the quick. Grinders are more forgiving but noisy and slower. Many owners use both: clippers for the bulk, grinder to smooth. Let your dog’s reaction decide.
How often should I trim my dog’s nails?
Every 3–4 weeks for most dogs, but let the click test guide you: if you hear tapping on hard floors, it’s time. Dogs who walk on pavement may go longer between trims since the surface files nails naturally. Don’t forget the dewclaws — they never touch the ground and need checking every time. If you’re building a full routine, nail trims pair naturally with bath day; I cover bathing frequency in my guide on how often to bathe a dog, and doing both in one grooming session keeps life simple.
My dog’s nail is bleeding and I don’t have styptic powder. What do I do?
Don’t panic — quick bleeding looks worse than it is. Press cornstarch or plain flour onto the nail tip with gentle pressure; both help clotting. A clean cloth pressed on the nail works too. Keep the dog calm and still for a few minutes. The bleeding should stop within 5–10 minutes. If it doesn’t stop after 15–20 minutes of pressure, or the nail looks cracked or partially torn rather than just nicked, call your vet for advice.
Can I just let the vet do it forever?
Absolutely. Plenty of owners have the vet or groomer handle nails every few weeks. It’s affordable, fast, and zero-stress for you. If home trims cause you genuine anxiety, outsourcing is the responsible choice, not the lazy one.