

How to Clean Your Cat’s Ears Safely (Step-by-Step Guide)
Cat ears are marvels of engineering — they swivel, they fold, they pick up sounds you will never hear. They are also mostly self-maintaining. Most cats go their whole lives without needing their ears cleaned, which is exactly why ear cleaning confuses new owners: is it something you should be doing routinely, or only when something looks off? The answer is mostly the second one, with a few exceptions.
This guide covers how to clean cats ears safely at home: how to tell when cleaning is actually needed, what supplies to use (and what to avoid), the gentle step-by-step technique, and the warning signs that mean “stop and call the vet” instead.
Quick Tips
- Most cats rarely need ear cleaning — check monthly, clean only when dirty.
- Use a vet-approved cat ear cleaner; never use water, alcohol, or hydrogen peroxide.
- Never insert anything into the ear canal — clean only what you can see.
- A little light-brown wax is normal; dark, smelly, or excessive debris is not.
- If your cat cries, bleeds, or the ear smells bad, stop and call your vet.
- Pair ear checks with calm handling so your cat learns it is no big deal.
Do Cats’ Ears Actually Need Cleaning?
For most cats, the honest answer is: rarely. A healthy cat’s ears are self-cleaning to a remarkable degree. The skin inside the ear produces a small amount of wax that traps dust and debris, and the cat’s own grooming — those thorough paw-to-ear wash sessions — handles the outer ear. Many owners check their cat’s ears for years and never find anything worth cleaning.
So why does ear cleaning come up at all? A few situations create the need. Some cats simply produce more wax than others — it is an individual thing, not a health problem. Cats with allergies or skin sensitivities tend toward waxier, itchier ears. Outdoor cats collect more debris. And certain breeds with specific ear structures may need more attention. Kittens from shelters sometimes arrive with ear mites, which is a vet matter first and a cleaning matter second.
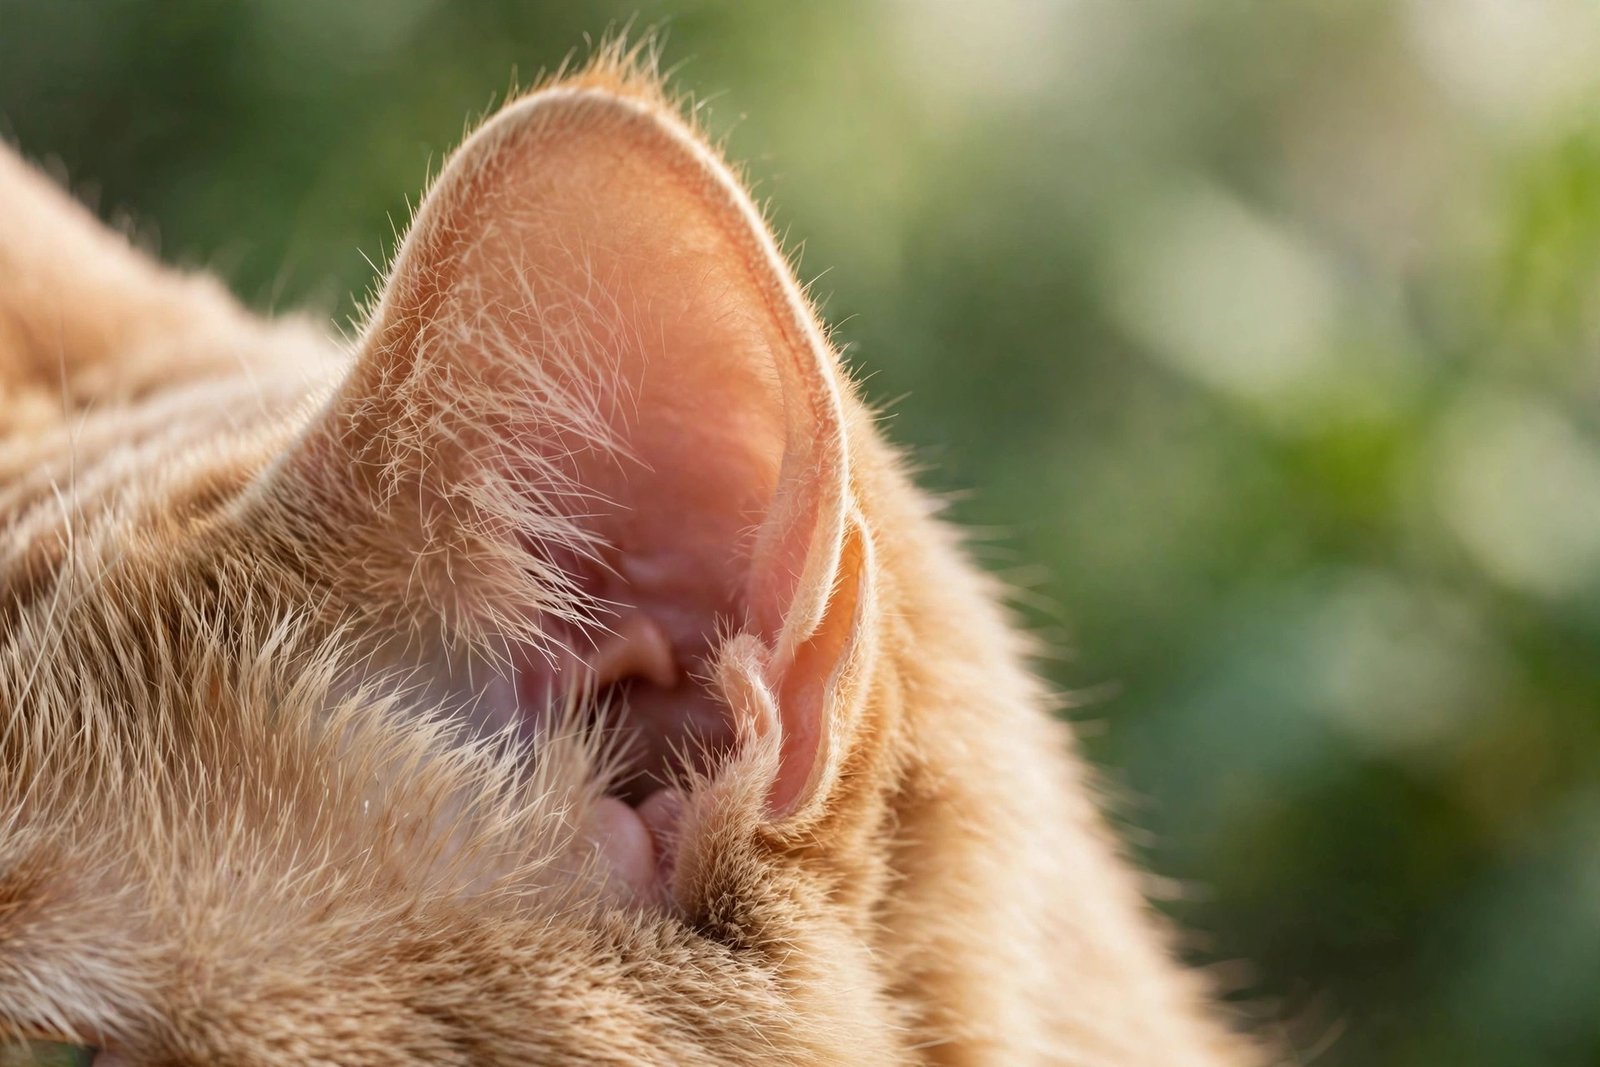
The practical routine: peek inside your cat’s ears about once a month. Healthy ears look pale pink, with minimal wax — maybe a light smear of light-brown wax, no odor. If that is what you see, close the flap and move on. Cleaning ears that are already clean does not help; it just irritates delicate skin and teaches the cat that ear handling is annoying. For the dog-owning readers, the same “check first, clean only when needed” principle applies — my dog ear cleaning guide covers the canine version, where the anatomy makes infections somewhat more common.
What You Will Need (and What to Avoid)
Ear cleaning needs very little equipment, but the few items matter:
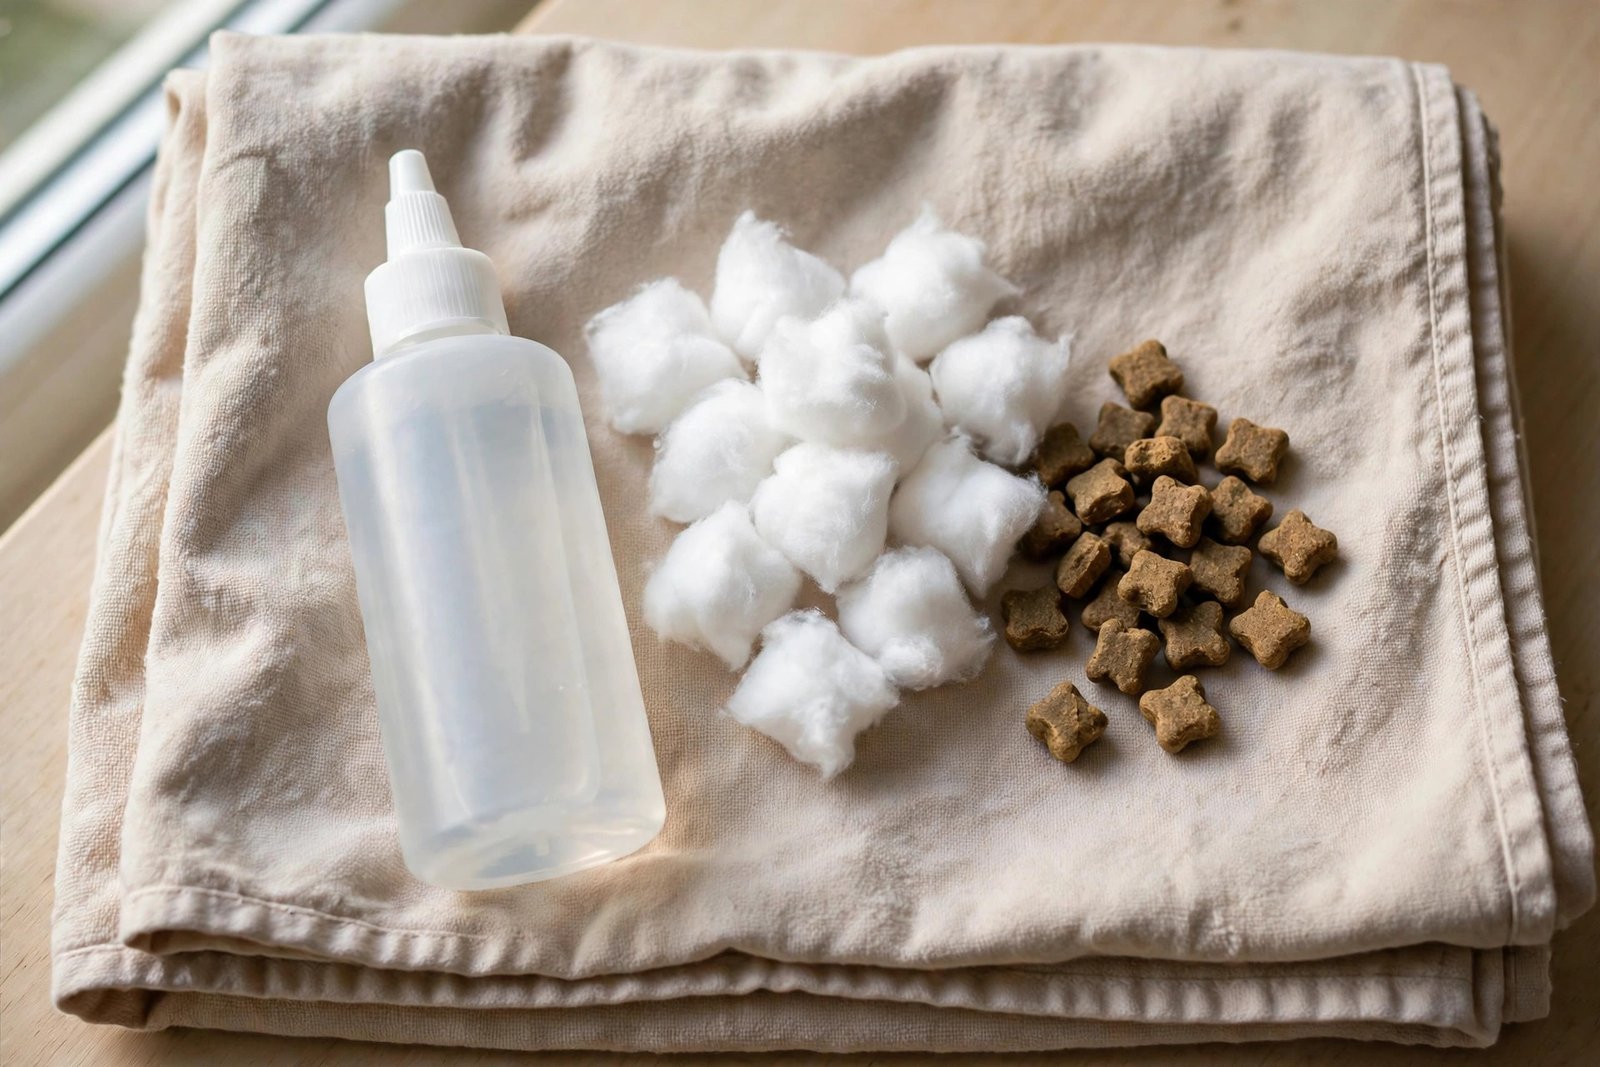
A vet-approved cat ear cleaner. This is the one thing to buy properly. Cat-specific ear cleaners are formulated to break down wax without irritating the ear canal, and many have a drying agent that helps moisture evaporate. Your vet clinic sells them, and pet stores carry reputable brands. Do not substitute homemade solutions.
Cotton balls or gauze pads. For wiping the visible parts of the ear. Soft, non-fraying, and used only on the outer ear and the entrance of the canal.
Treats. Not optional. Ear handling goes dramatically better when the cat learns that tolerating it produces snacks.
And the do-not-use list, which matters more:
No water. Water left in the ear canal creates exactly the warm, moist environment where yeast and bacteria thrive. Ear cleaner is designed to evaporate; water is not.
No alcohol or hydrogen peroxide. Both irritate and dry out the delicate skin inside the ear, and both sting if there is any tiny scratch or irritation you cannot see. The cat will remember the sting far longer than the cleaning.
No cotton swabs (Q-tips) inside the ear. This is the big one. A swab pushes wax and debris deeper into the canal, packing it against the eardrum, and one flinch from the cat can cause real injury. Swabs are fine for the folds of the outer ear where you can see everything you are doing — never beyond that.
No essential oils, vinegar solutions, or internet recipes. Cat ears are sensitive, and unproven mixtures risk irritation or worse. If a cleaner is not made for cat ears, it does not go in cat ears.
The Step-by-Step Technique
Pick a calm moment — not right after playtime, not when the cat is already annoyed. Many owners do ear checks as part of a relaxed lap session. Here is the process:
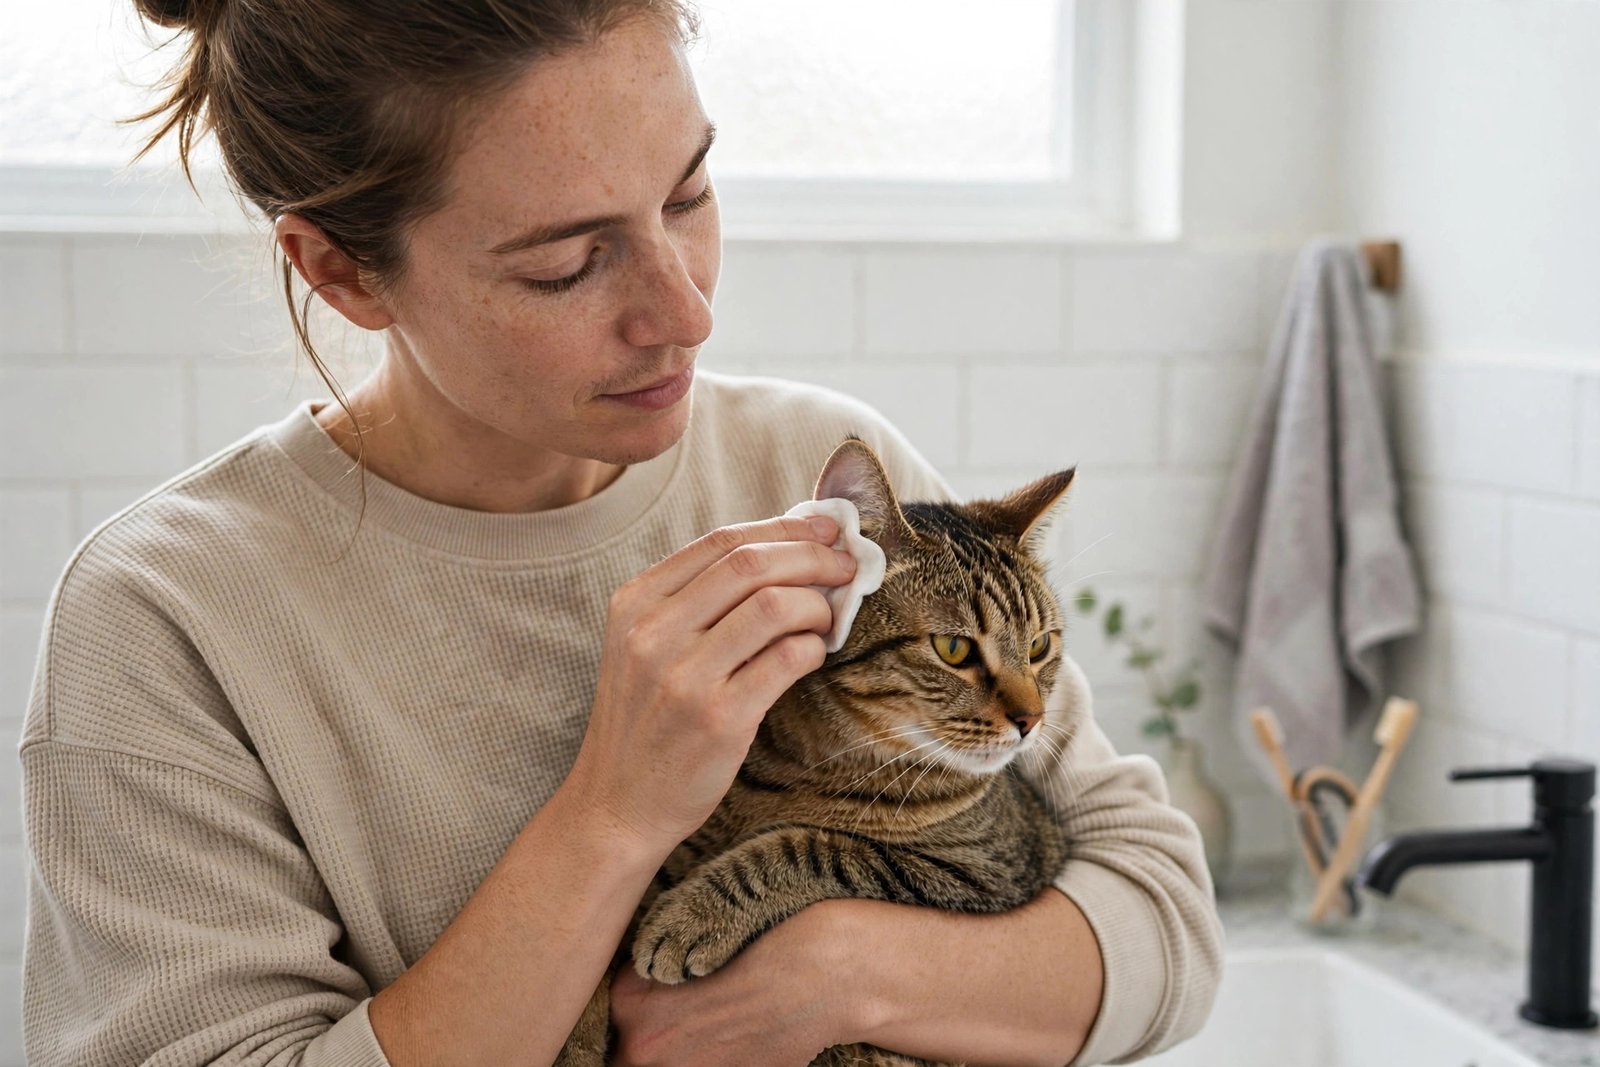
1. Settle the cat comfortably. Lap, beside you on the sofa, wherever the cat is relaxed. You want the cat calm but not restrained — a cat that feels trapped will fight, and ear cleaning should never be a wrestling match. If your cat will not sit still even for a peek, that is information: try again later, or accept that this particular cat needs the vet to handle ears.
2. Look first. Gently fold back the ear flap and look inside with good light. You are assessing: pale pink and clean (leave it alone), light wax smear (clean it), or dark debris, redness, swelling, odor, or discharge (do not clean — call the vet; more on this below).
3. Apply the cleaner. If cleaning is warranted, squeeze a few drops of ear cleaner into the ear canal — aim for the opening, not deep inside. You do not need much. Immediately follow with a treat.
4. Massage the base. With the ear flap held gently closed, massage the base of the ear (the firm cartilage part below the opening) for 15–20 seconds. You will hear a soft squelching sound — that is the cleaner loosening wax and debris. Most cats tolerate this part surprisingly well; some even lean into it.
5. Let the cat shake. Release the ear and let the cat shake its head. This is not a failure of technique — the shake brings loosened debris up and out, which is exactly what you want.
6. Wipe what you can see. With a cotton ball or gauze pad, gently wipe the visible inner surface of the ear flap and the entrance of the canal. Wipe outward, lifting debris away. Use a fresh pad if the first gets dirty. Stop where your visibility stops — if you cannot see it, do not clean it.
7. Treat and release. Final treat, calm praise, done. The whole thing should take a couple of minutes per ear. If it is taking longer, the ears were either very dirty (vet territory) or the cat is done (try the other ear another day).
One ear at a time is fine. There is no rule that both ears must be done in one session — especially with a cat that is new to the process, ending on a good note matters more than finishing the job.
What Healthy vs Worrying Ears Look Like
Knowing when not to clean is as important as knowing how. Here is the visual guide:
Normal: pale pink skin, minimal light-brown wax, no smell, cat does not flinch when you touch the ear. Clean only if there is visible wax worth removing; otherwise leave alone.
Clean it: moderate light-to-medium-brown waxy buildup, no odor, no redness, cat unbothered. This is the straightforward cleaning scenario above.
Call the vet instead: dark brown or black crumbly debris (classic ear mite sign, especially in kittens), strong odor, redness or swelling, discharge of any color, crusting, head tilting, constant scratching at one ear, crying when the ear is touched, or any wound or bleeding. These are not “clean harder” situations — they are “get a diagnosis” situations. Ear mites, yeast, and bacterial infections all need specific treatment, and cleaning over an infection without treating it just delays proper care.
This distinction is worth internalizing because it applies across grooming: brushing a healthy coat is maintenance, like the routine in my cat brushing guide — but grooming over a skin problem is not treatment. When something looks wrong, the vet comes before the grooming supplies.
Making Ear Checks a Non-Event
The cats that tolerate ear cleaning best are the ones for whom ear handling was never a big deal in the first place. You can build that with almost no effort:
Handle ears during calm moments. While petting your cat, occasionally touch and gently fold the ears, then keep petting. No cleaning, no agenda — just handling. The cat files “ear touching” under “boring human behavior” instead of “prelude to something awful.”
Keep sessions short and positive. If you do clean, treats before, during, and after. The goal is a cat that hears the cleaner bottle and thinks “snacks are coming” rather than fleeing the room.
Never chase a cat to clean its ears. If the cat leaves, the session is over. Chasing turns a two-minute task into a trust problem that lasts weeks. There is always tomorrow — and if the ears truly cannot wait, that is what vet visits are for.
Do not overdo the frequency. Monthly checks, cleaning only when needed. Owners who clean weekly “just in case” often create the irritation they are trying to prevent. The ear is a self-maintaining system; your job is monitoring, not intervention.
Frequently Asked Questions
How often should I clean my cat’s ears?
Check monthly; clean only when you see waxy buildup worth removing. Most indoor cats need cleaning a few times a year at most, and many need it rarely or never. Cleaning on a fixed schedule regardless of need can irritate healthy ears.
Can I use baby wipes to clean my cat’s ears?
It is not ideal. Baby wipes are not formulated for ear canals, and their fragrances and preservatives can irritate delicate ear skin. A vet-approved cat ear cleaner with cotton balls is safer and more effective. In a pinch, a slightly damp (water-only) cotton pad on the outer ear flap is acceptable — but never inside the canal.
Why does my cat have so much ear wax?
Some cats just produce more wax — it is an individual trait. Allergies, skin sensitivities, and outdoor lifestyles can increase wax too. A moderate amount of light-brown wax is manageable with routine cleaning. But a sudden increase, dark debris, or odor deserves a vet check rather than more aggressive cleaning.
Can I clean my cat’s ears with olive oil?
It is not recommended as a routine cleaner. Oil does not evaporate the way proper ear cleaners do, so it can leave the canal moist — and moisture in the ear canal encourages yeast and bacterial growth. Stick with a vet-approved ear cleaner designed to clean and then dry.
My cat hates having its ears touched. What should I do?
Do not force it. Build tolerance gradually with treats and brief, positive handling during calm moments. If the cat truly will not tolerate it, have the vet handle ear cleaning during checkups — that is a completely reasonable division of labor, and it keeps your relationship with your cat intact.
Are dark brown ear debris always ear mites?
Not always, but dark, crumbly, coffee-ground-like debris is the classic ear mite sign, especially in kittens and young cats. It can also accompany yeast issues. Either way, it needs a vet diagnosis — ear mites require specific medication, and guessing wrong delays treatment. Do not try to clean away a suspected mite infestation on your own.
[…] as part of your routine, the same “look first, act only if needed” mindset from this cat ear cleaning guide applies here […]