

Building a Pet First Aid Kit: What to Keep at Home
Pet emergencies have terrible timing. They happen on Sunday evenings, during holiday weekends, and at 11 p.m. when the vet’s office is a voicemail message. Nothing in a home first aid kit replaces a veterinarian — but having the right supplies on hand means you can handle the minor stuff confidently and stabilize the not-minor stuff while you get help.
Building a pet first aid kit is one of those tasks that takes an hour once and then quietly protects you for years. This guide covers what to put in it, how to organize and store it, and — just as important — how to know when a situation is beyond first aid and needs a professional.
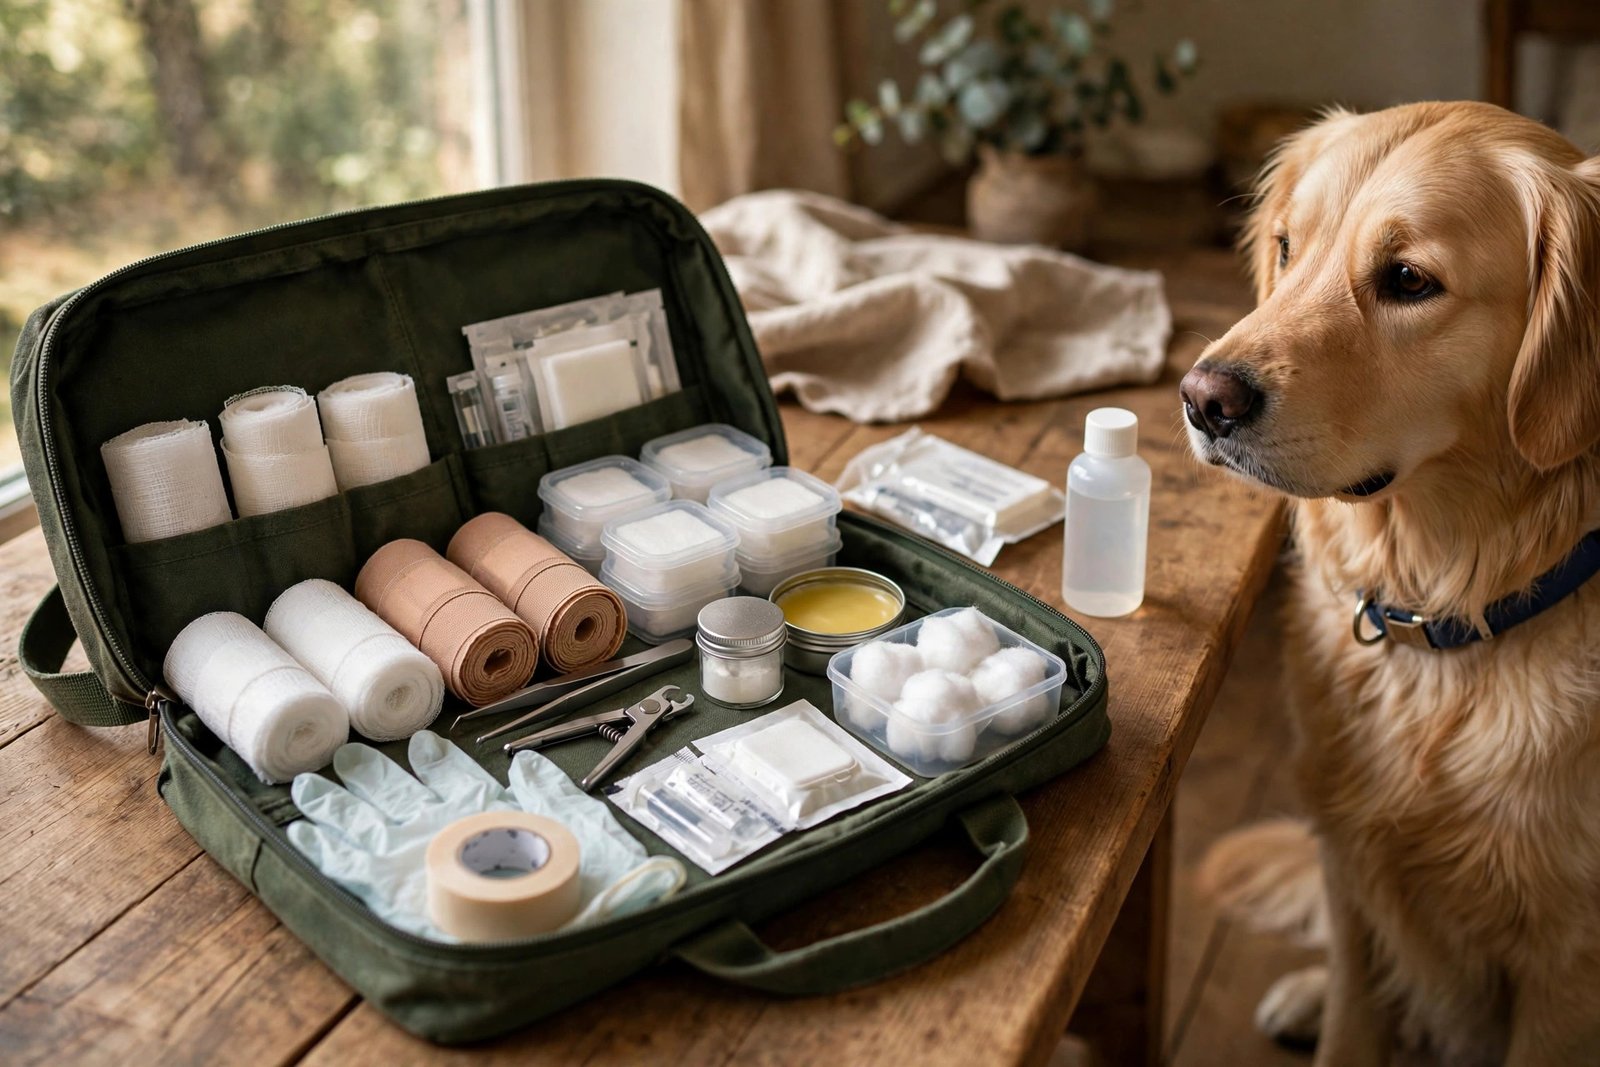
Quick Tips
- A basic pet first aid kit costs little and covers most minor injuries at home.
- Include wound care basics: gauze, bandage wrap, antiseptic wipes, and tweezers.
- Keep your vet’s number and the nearest emergency vet’s number in the kit itself.
- Check expiration dates twice a year and replace anything used or expired.
- Never give human medications to pets unless your vet specifically instructs you to.
- First aid buys time and comfort — it doesn’t replace a vet visit for anything serious.
What Your Kit Is For (and What It Isn’t)
Let us set expectations first, because this determines everything you put in the kit. A home first aid kit handles minor cuts and scrapes, a torn nail, a mild stomach upset you are monitoring, a tick you need to remove, and the “stabilize and transport” situations — a bleeding wound you need to control on the way to the vet, for example. It does not handle broken bones, deep wounds, poisoning, breathing trouble, seizures, or anything where your pet’s condition is deteriorating. Those are “call the vet or emergency clinic now” situations, and the kit’s job in those moments is just to support you while help is on the way.
If you are ever unsure whether something is minor or serious, err on the side of calling. Vets would much rather talk you through a minor scrape at 9 p.m. than see a serious injury at midnight that waited too long. My signs it’s time to call the vet guide walks through that judgment call in detail — read it once and the line between “handle at home” and “call now” gets much clearer.
The Container: Keep It Simple and Portable
You do not need anything fancy. A small duffel bag, a tackle box, or a clear plastic storage bin with a lid — anything with compartments that you can grab with one hand. Clear or labeled matters: in a stressful moment you want to see what is inside without dumping everything out.
Put a card on top with the essentials: your vet’s phone number and hours, the nearest emergency/after-hours vet clinic with address, and the pet poison helpline number for your country. When something is actually happening, nobody wants to be googling phone numbers. Write it on paper and tape it inside the lid — phones die, paper does not.
Wound Care: The Core of the Kit
Minor cuts, scrapes, and paw injuries are the most common things you will actually use the kit for, so stock this section well:
Gauze pads and gauze rolls. For cleaning wounds and applying pressure to bleeding.
Self-adhering bandage wrap. The stretchy wrap that sticks to itself but not to fur — the workhorse of pet bandaging, far easier on a squirming animal than tape. Wrap snugly but not tight; you should be able to slip a finger under it. If toes below a bandage swell or feel cold, it is too tight — remove and redo it.
Antiseptic wipes or saline wound wash. For cleaning minor wounds and flushing out dirt. Avoid anything with alcohol on open wounds — it stings and damages tissue.
Blunt-tipped scissors. For cutting gauze and bandage wrap safely near skin and fur.
Styptic powder or a styptic pencil. For torn nails, which bleed dramatically and look far worse than they are. A pinch of styptic powder on the nail usually stops the bleeding quickly.
A note on wound care judgment: small, shallow, clean cuts can often be managed at home with cleaning and monitoring. Deep cuts, wounds that gape open, puncture wounds, and anything near eyes or joints deserve a vet’s eyes. When in doubt, clean it, cover it lightly, and call.
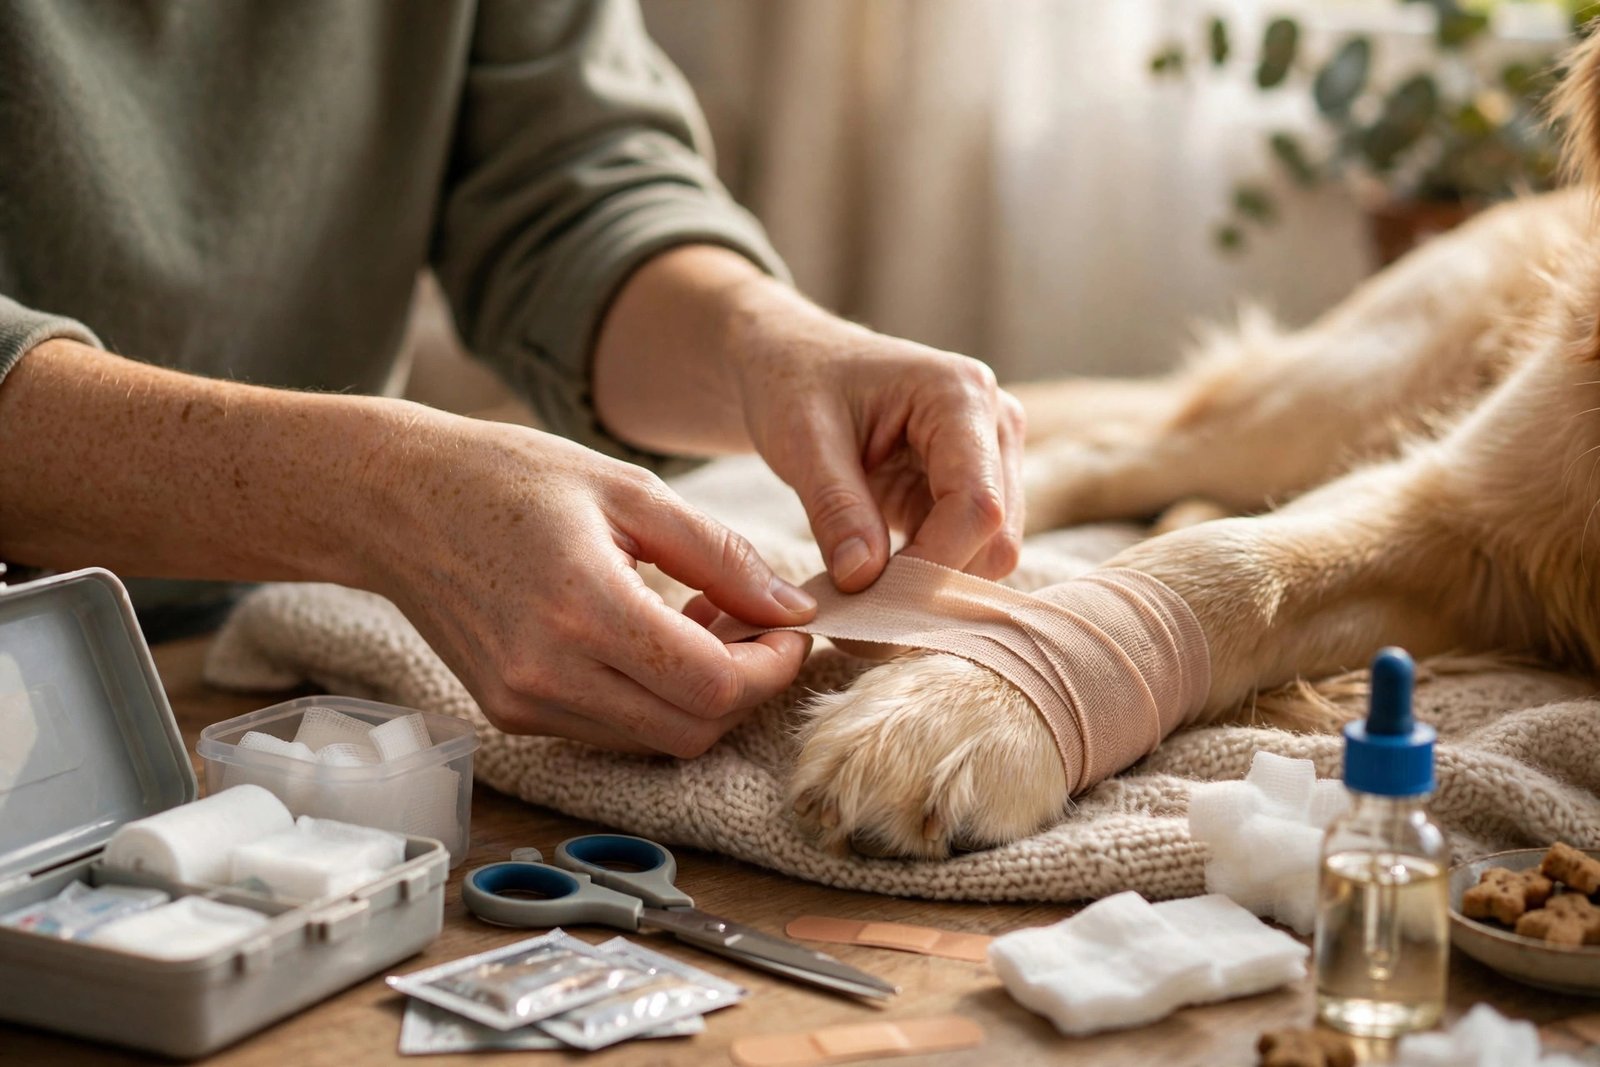
Tools and Extras Worth Including
Beyond wound care, a handful of tools turn the kit from a bandage box into a genuinely useful resource:
Fine-tipped tweezers. For tick removal and pulling out thorns or splinters. The single most-used tool in many kits.
Digital thermometer and water-based lubricant. A pet’s temperature is taken rectally, and your vet can show you how at a routine visit — it takes thirty seconds to learn. The real value is knowing your pet’s baseline and recognizing a meaningful change.
Saline eye wash. For flushing dust, pollen, or mild irritants from eyes. Gentle and safe for the “something is in the eye but the eye looks okay” situations.
Disposable gloves. A few pairs. They keep wounds cleaner and make the whole process less squeamish.
A muzzle or a strip of cloth. Even the sweetest pet may snap when in pain — it is reflex, not temperament. A soft muzzle protects you while you handle an injury. Never muzzle a pet that is vomiting, coughing, or having trouble breathing.
Hydrogen peroxide (3%) — with a big caveat. This sits in many kit lists as an emetic, but inducing vomiting should only ever be done on a vet’s or poison helpline’s direct instruction, never on your own judgment. Some substances cause more damage coming back up. Keep it in the kit only so you have it if a professional tells you to use it — the instruction matters more than the bottle.
Towel and emergency blanket. A towel restrains, warms, applies pressure, and cleans up. A foil emergency blanket weighs nothing and helps keep a shocked or chilled pet warm on the way to the vet.
The Medication Question
Here is the firm rule: do not give your pet human medications unless your vet has specifically told you to. Some human painkillers that are routine for us are dangerous for dogs and cats — this is one of the most common and most preventable poisoning scenarios vets see.
What you can keep: any prescription medications your pet already takes, plus whatever your vet has pre-authorized for your pet specifically. Ask at your next appointment: “What, if anything, should I keep on hand for minor issues?” Then write the answer on the card in your kit.
Putting It Together: Assembly and Maintenance
Assemble the kit in one sitting — it honestly takes less time than a grocery run. As you pack each item, think briefly about how you would use it; that mental rehearsal is half the value. Show every adult in the household where the kit lives.
Then maintain it. Twice a year — tie it to something you already do, like changing smoke detector batteries — open the kit, check expiration dates, replace anything you used, and make sure the emergency numbers are still current.
For the car version, keep it slim: gauze, bandage wrap, tweezers, saline wash, styptic powder, gloves, a towel, and the emergency numbers card. Do not leave it baking in a hot trunk all summer — heat degrades supplies.
Practice Before You Need It
The best kit in the world underperforms if the first time you open it is during a real scare. Spend fifteen unhurried minutes practicing the basics while everyone is calm: wrapping a paw with bandage wrap (most dogs tolerate this as a game if treats are involved), handling the muzzle, taking a temperature if your vet showed you how.
It is also worth doing a dry run of the logistics. Do you know the route to the emergency vet at night? Is the carrier or car restraint accessible, not buried in the garage? This pairs well with general preparedness — my guide to preparing for vet visits covers the calmer side of the same coin: making vet interactions smooth before you ever need an urgent one.
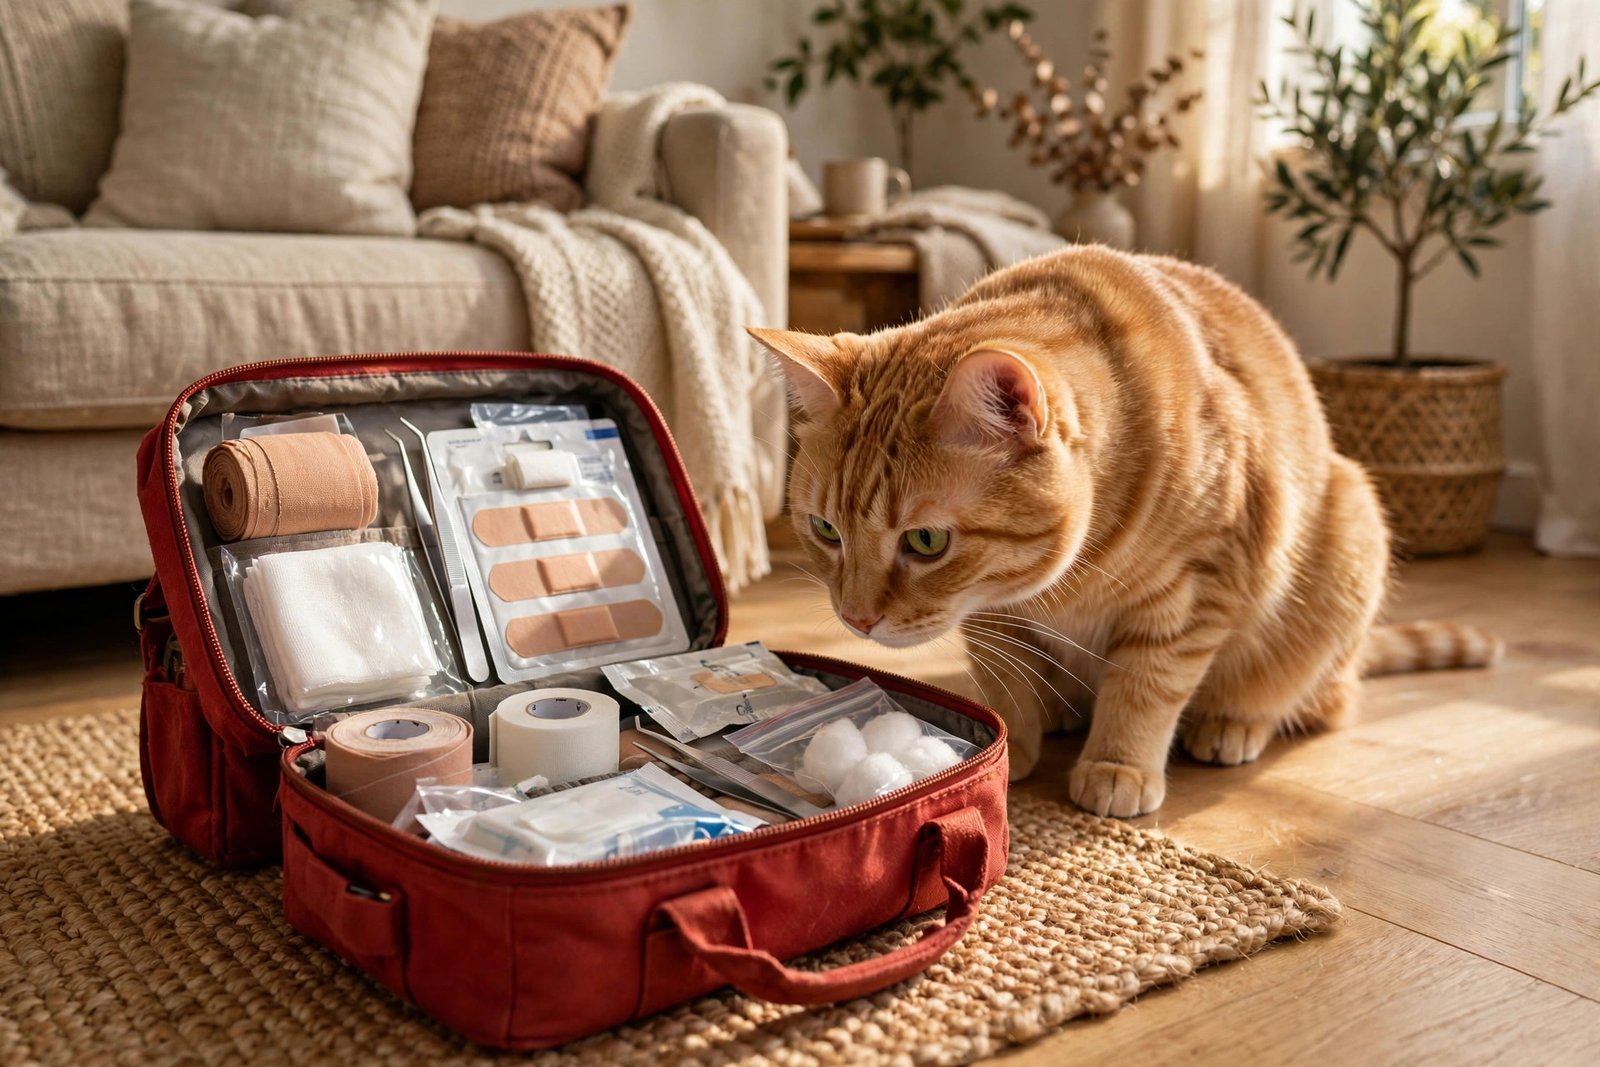
Frequently Asked Questions
What are the absolute essentials for a pet first aid kit?
If you’re starting from zero, prioritize: gauze pads and rolls, self-adhering bandage wrap, saline wound wash, blunt-tipped scissors, fine-tipped tweezers, styptic powder, disposable gloves, a digital thermometer, and a card with your vet’s and emergency clinic’s numbers. That core covers the vast majority of minor at-home situations.
Can I give my dog or cat human painkillers?
No — not without your vet’s explicit instruction. Several common human painkillers are toxic to dogs and cats, and dosing is not a simple matter of scaling down. Never improvise with human medications. If your pet seems to be in pain, call your vet and describe what you see; they’ll advise what’s safe.
How do I know if a cut needs a vet or just home care?
Small, shallow, clean cuts can often be managed at home with gentle cleaning and monitoring. See a vet for deep cuts, wounds that gape open, puncture or bite wounds, heavy bleeding that doesn’t slow with pressure, or any wound near eyes or joints. When you’re unsure, clean it, cover it lightly, and call — describing it to the vet clinic is always free.
Should I keep hydrogen peroxide in my pet first aid kit?
Only as a “use if a professional tells you to” item. Inducing vomiting can be the right move in some poisoning situations and dangerous in others — it depends on what was ingested and when. Never induce vomiting on your own judgment. If your pet eats something suspicious, call your vet or a pet poison helpline immediately and follow their instructions.
How often should I check and restock my pet first aid kit?
Twice a year is a good rhythm. Check expiration dates, replace anything you’ve used, make sure wipes and ointments haven’t dried out, and confirm your vet’s and emergency clinic’s contact details are still current. It takes five minutes and it’s the difference between a kit you trust and a box of expired supplies.
Do I need a separate first aid kit for travel?
A slimmed-down travel version is worth it if you hike, camp, or road-trip with your pet: gauze, bandage wrap, tweezers, saline wash, styptic powder, gloves, a towel, and emergency numbers. Don’t leave it in a hot car for long stretches — heat degrades supplies — and restock it from the main kit after any use.