
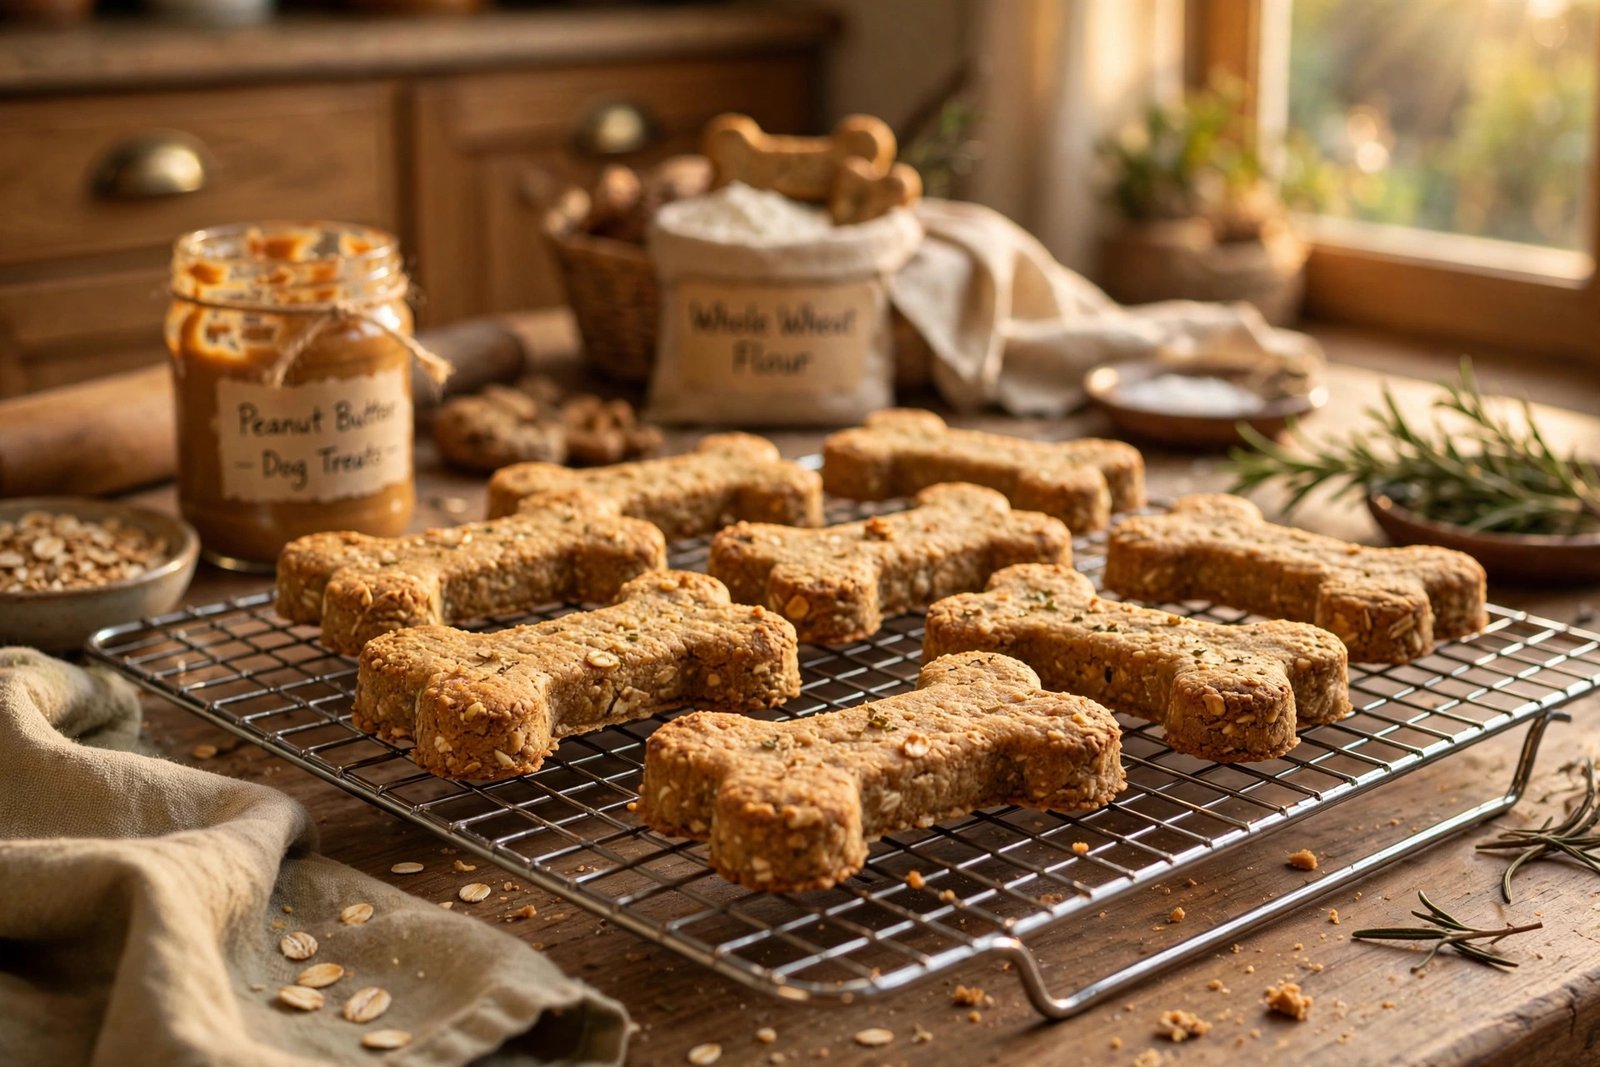

Homemade Dog Treats Beginners Love: 5 Easy Recipes to Start With
Store-bought treats are convenient, but there is something satisfying about pulling a tray of dog biscuits out of your own oven — especially when your dog is already waiting by the kitchen door. This guide to homemade dog treats beginners can actually make is the perfect place to start: most recipes need just three or four ingredients, one bowl, and about half an hour.
This guide starts with the dog-safe basics every beginner should know, then walks through five genuinely simple recipes — no decorating skills, no special equipment, and nothing your dog will turn their nose up at. By the end, you will have a small rotation of treats you can make on a quiet weekend afternoon.
Quick Tips
- Stick to simple, dog-safe ingredients: peanut butter (xylitol-free), pumpkin, banana, oats, eggs, and plain yogurt.
- Always check peanut butter labels for xylitol (also listed as birch sugar) — it is extremely toxic to dogs.
- Never use chocolate, grapes, raisins, onions, garlic, macadamia nuts, or anything sweetened with xylitol.
- Homemade treats have no preservatives, so store them properly and use within a week (or freeze them).
- Keep all treats to about 10% of your dog’s daily calories — homemade does not mean unlimited.
- Introduce new recipes one at a time so you can spot any ingredient your dog’s stomach dislikes.
Why Bother Making Your Own Dog Treats?
Honestly? The biggest reason is that you know exactly what goes in. Commercial treats vary enormously — some are excellent, others are mostly fillers, flavorings, and ingredients you cannot pronounce. When you bake at home, the ingredient list is whatever you put in the bowl, and for most beginner recipes that is four or five whole foods you already recognize.
There are practical perks too. Homemade treats are usually cheaper per batch than premium store-bought ones. You can tailor them to your dog — softer for seniors with worn teeth, tiny for training, or free of whatever ingredient your dog tolerates poorly. And many owners find that baking for their dog is simply fun, in the same low-stakes way as baking banana bread for yourself. The audience is just more enthusiastic.
One honest caveat: homemade does not automatically mean healthier. A butter-and-sugar dog biscuit is still a butter-and-sugar biscuit. The recipes below keep things simple and sensible, but portions still count — a homemade treat is still a treat.
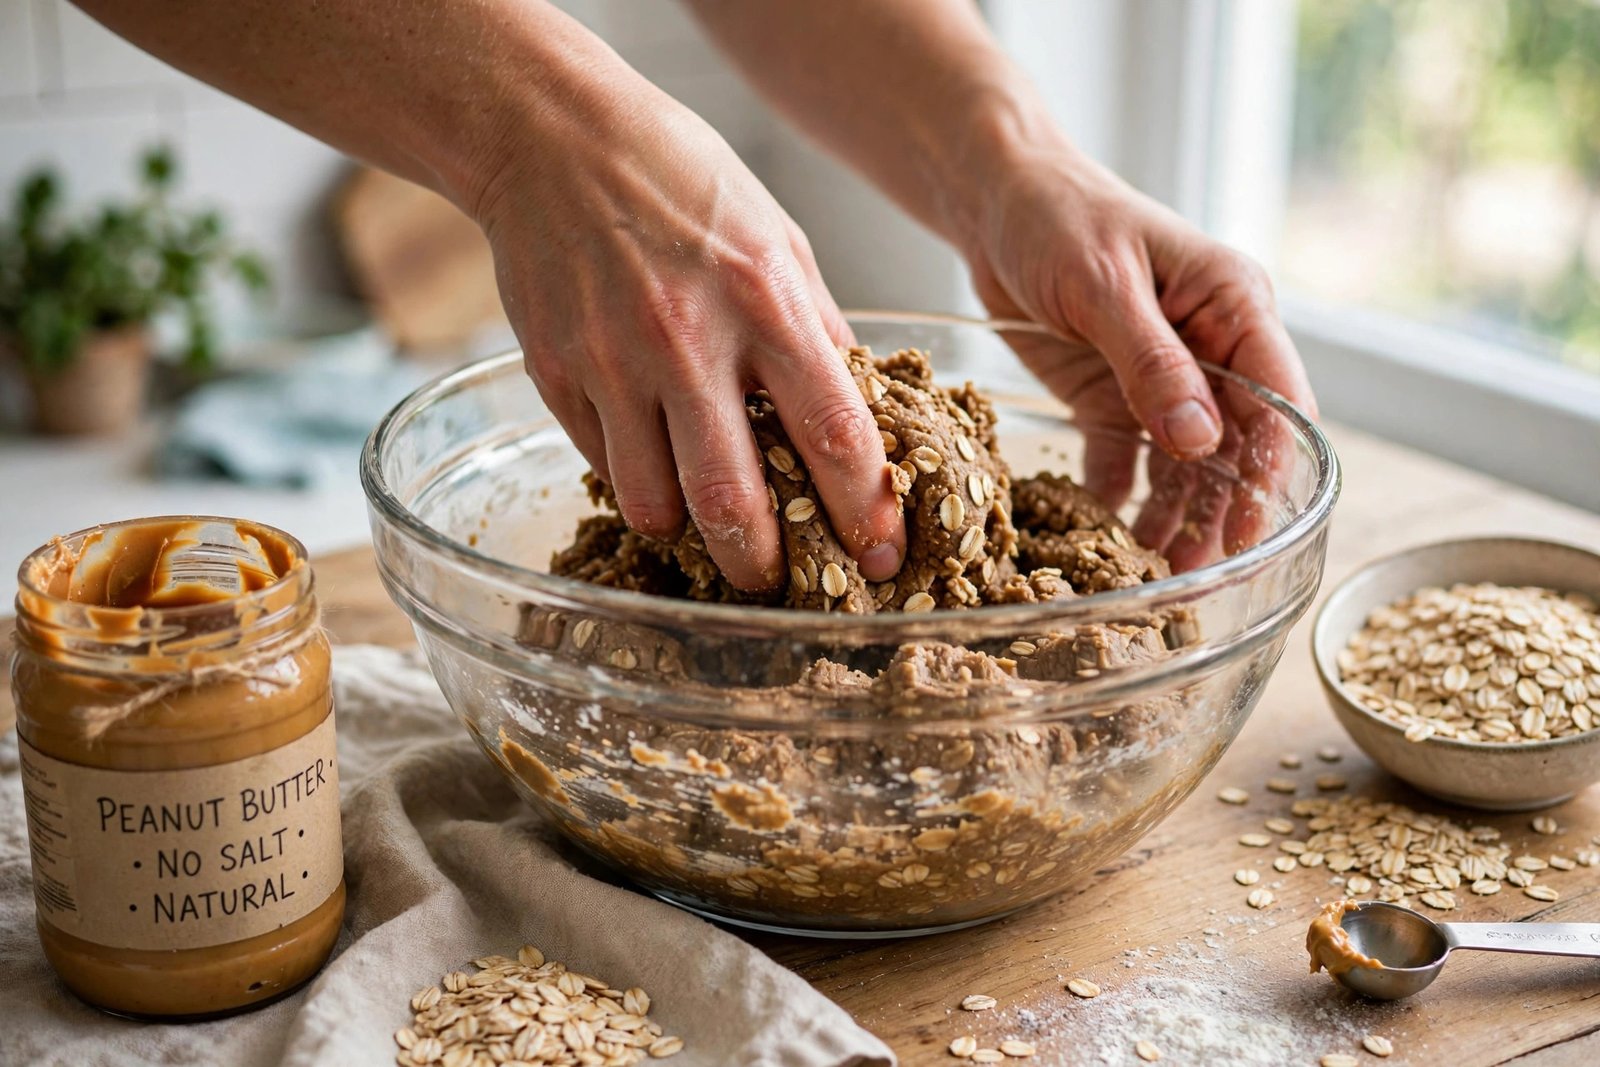
Before You Bake: Dog-Safe Ingredients Every Beginner Should Know
Dog baking has a shorter safe-ingredient list than human baking, and a few non-negotiable rules. Get these down once and every recipe below becomes second nature.
The everyday safe list: peanut butter (xylitol-free), plain pumpkin puree, ripe bananas, rolled oats, oat flour, whole wheat flour, eggs, plain unsweetened yogurt, apples (no seeds or core), blueberries, carrots, and sweet potato. These cover nearly every beginner recipe you will ever meet.
The absolute no list: chocolate in any form, grapes and raisins, onions and garlic (including powders), macadamia nuts, alcohol, caffeine, and anything containing xylitol — the artificial sweetener also labeled as birch sugar. Xylitol deserves special emphasis because it hides in “sugar-free” and “light” peanut butters; a quick label check takes five seconds and is the most important habit in dog baking. If peanut butter is going to be your star ingredient, our guide on whether dogs can eat peanut butter covers exactly what to look for on the jar.
Equipment: you probably own everything already — a mixing bowl, a rolling pin (or a clean bottle), a baking sheet, and parchment paper. A bone-shaped cookie cutter is nice but entirely optional; a knife or a glass rim works fine. Dogs do not grade your shapes.
5 Homemade Dog Treats Beginners Can Make Today
Each recipe below makes one baking sheet’s worth of treats and takes under 40 minutes start to finish. Oven temperatures are conventional; if you use a fan oven, drop the temperature by about 10–15°C (20–25°F).
1. Three-Ingredient Peanut Butter Banana Bites
The classic starter recipe. Mash 1 ripe banana in a bowl, stir in 1/3 cup of xylitol-free peanut butter and 1 cup of rolled oats until you have a sticky dough. Roll into small balls (about a teaspoon each for training-size treats), flatten slightly with a fork, and bake at 175°C (350°F) for 12–15 minutes until firm and lightly golden. Cool completely before serving. These keep 5–7 days in an airtight container in the fridge.
2. Pumpkin Oat Biscuits
Whisk 1/2 cup of plain pumpkin puree (not pie filling) with 1 egg, then stir in 1 and 1/2 cups of oat flour until a firm dough forms. Roll out to about 1 cm thick, cut into shapes, and bake at 175°C (350°F) for 20–25 minutes until hard and dry. The longer bake makes them crunchy, which many dogs prefer — and crunchier biscuits keep longer, up to two weeks in an airtight container at room temperature.
3. Apple Carrot Chews
Grate 1 apple (cored and seeded — apple seeds are best avoided) and 1 medium carrot, squeeze out excess moisture in a clean towel, and mix with 1 cup of oat flour and 1 beaten egg. Drop tablespoon-sized mounds onto a lined baking sheet, flatten them, and bake at 175°C (350°F) for about 20 minutes. These come out soft and chewy rather than crunchy, which makes them a good pick for older dogs or small mouths.
4. Frozen Yogurt Berry Cubes (No Baking Required)
For the true beginner — or a hot day — skip the oven entirely. Blend 1 cup of plain unsweetened yogurt with a handful of blueberries until mostly smooth, pour into a silicone ice cube tray or muffin tray, and freeze for 3–4 hours. Pop out a cube as a cool treat. These are perfect for teething puppies (with supervision) and take about five minutes of actual effort. Keep them frozen and use within a month.
5. Sweet Potato Chews
Slice a large sweet potato lengthwise into strips about 1 cm thick, lay them on a lined baking sheet, and bake low and slow at 120°C (250°F) for 2.5–3 hours, flipping once halfway. They come out chewy and leathery — a simple, single-ingredient chew that keeps for two weeks in an airtight container. The long bake time is almost entirely hands-off, so start them before lunch and forget about them until mid-afternoon.
How to Store Homemade Dog Treats
This is the part beginners most often get wrong. Commercial treats contain preservatives; yours do not. Soft, moist treats (like the banana bites and apple carrot chews) belong in the fridge and should be used within 5–7 days. Hard, fully dried biscuits (like the pumpkin oat biscuits baked until dry) can live in an airtight container at room temperature for up to two weeks.
Almost everything freezes well. Lay treats in a single layer on a baking sheet, freeze until solid, then transfer to a freezer bag with the air pressed out. They keep for about three months frozen — just thaw a few at a time in the fridge. If a treat ever smells off, feels slimy, or shows any mold, throw the batch out. When in doubt, toss it; the ingredients cost almost nothing to remake.
How Many Homemade Treats Is Too Many?
The same 10% rule that applies to store-bought treats applies here: treats of all kinds should make up no more than about a tenth of your dog’s daily calories. It is easy to overdo it with homemade treats precisely because your dog loves them so much and you feel good giving them. The golden rule for homemade dog treats beginners should memorize is simple: decide the day’s treat allowance in the morning — say, four small biscuits — and stick to it.
Size your treats to their job. Training treats should be tiny — pea-sized is ideal, since a training session might involve twenty rewards. If you are baking specifically for training, roll the dough thinner and cut smaller pieces; one standard biscuit can become six training treats. For more on choosing and using rewards effectively, see our guide to the best training treats for dogs.
Also introduce new recipes gradually, one at a time. If your dog gets an upset stomach after a baking session, you want to know which recipe caused it. Start with two or three treats from a new batch, wait a day, and then make them a regular thing. Most dogs tolerate these simple recipes well, but every stomach is individual — and if digestive trouble persists, your vet is the right person to ask, not the recipe comments.
Frequently Asked Questions
Are homemade dog treats healthier than store-bought?
They can be, mainly because you control the ingredients — no fillers, mystery flavorings, or preservatives. But “homemade” is not a health guarantee on its own; a rich, sugary homemade biscuit is still a rich biscuit. The recipes in this guide keep things simple and sensible, which is where homemade has its real advantage.
What flour is safe for dog treats?
Whole wheat flour and oat flour are the most common choices and are generally considered safe for dogs. Oat flour (just blended rolled oats) is a good option for dogs that seem sensitive to wheat. Avoid anything with xylitol, and skip nut flours like almond in large amounts — stick with the basics while you are learning.
Can I use regular peanut butter for dog treats?
Yes, as long as it does not contain xylitol (sometimes labeled as birch sugar). Most standard peanut butters are xylitol-free, but a few “natural,” “light,” or sugar-free brands use it, and xylitol is extremely toxic to dogs even in small amounts. Checking the label takes seconds and is the single most important safety step in dog baking.
How long do homemade dog treats last?
It depends on moisture. Soft treats last 5–7 days refrigerated; hard, fully dried biscuits last up to two weeks in an airtight container at room temperature. Nearly all homemade treats freeze well for about three months. If anything smells off or shows mold, throw it out.
Can puppies have homemade treats?
Yes, in small amounts — just make the pieces tiny and introduce one recipe at a time. Puppies have sensitive developing stomachs, so go slower than you would with an adult dog. The frozen yogurt cubes (made small) and tiny peanut butter bites are good starter options. If your puppy has any digestive issues, check with your vet first.
Do I need special equipment to make dog treats?
No. A bowl, a baking sheet, parchment paper, and something to roll or flatten dough is genuinely enough. Cookie cutters in fun shapes are optional — your dog cares about taste and smell, not whether the biscuit looks like a bone. Start with what you have and upgrade only if you catch the baking bug.