

Clicker Training Basics for Beginners (Step-by-Step)
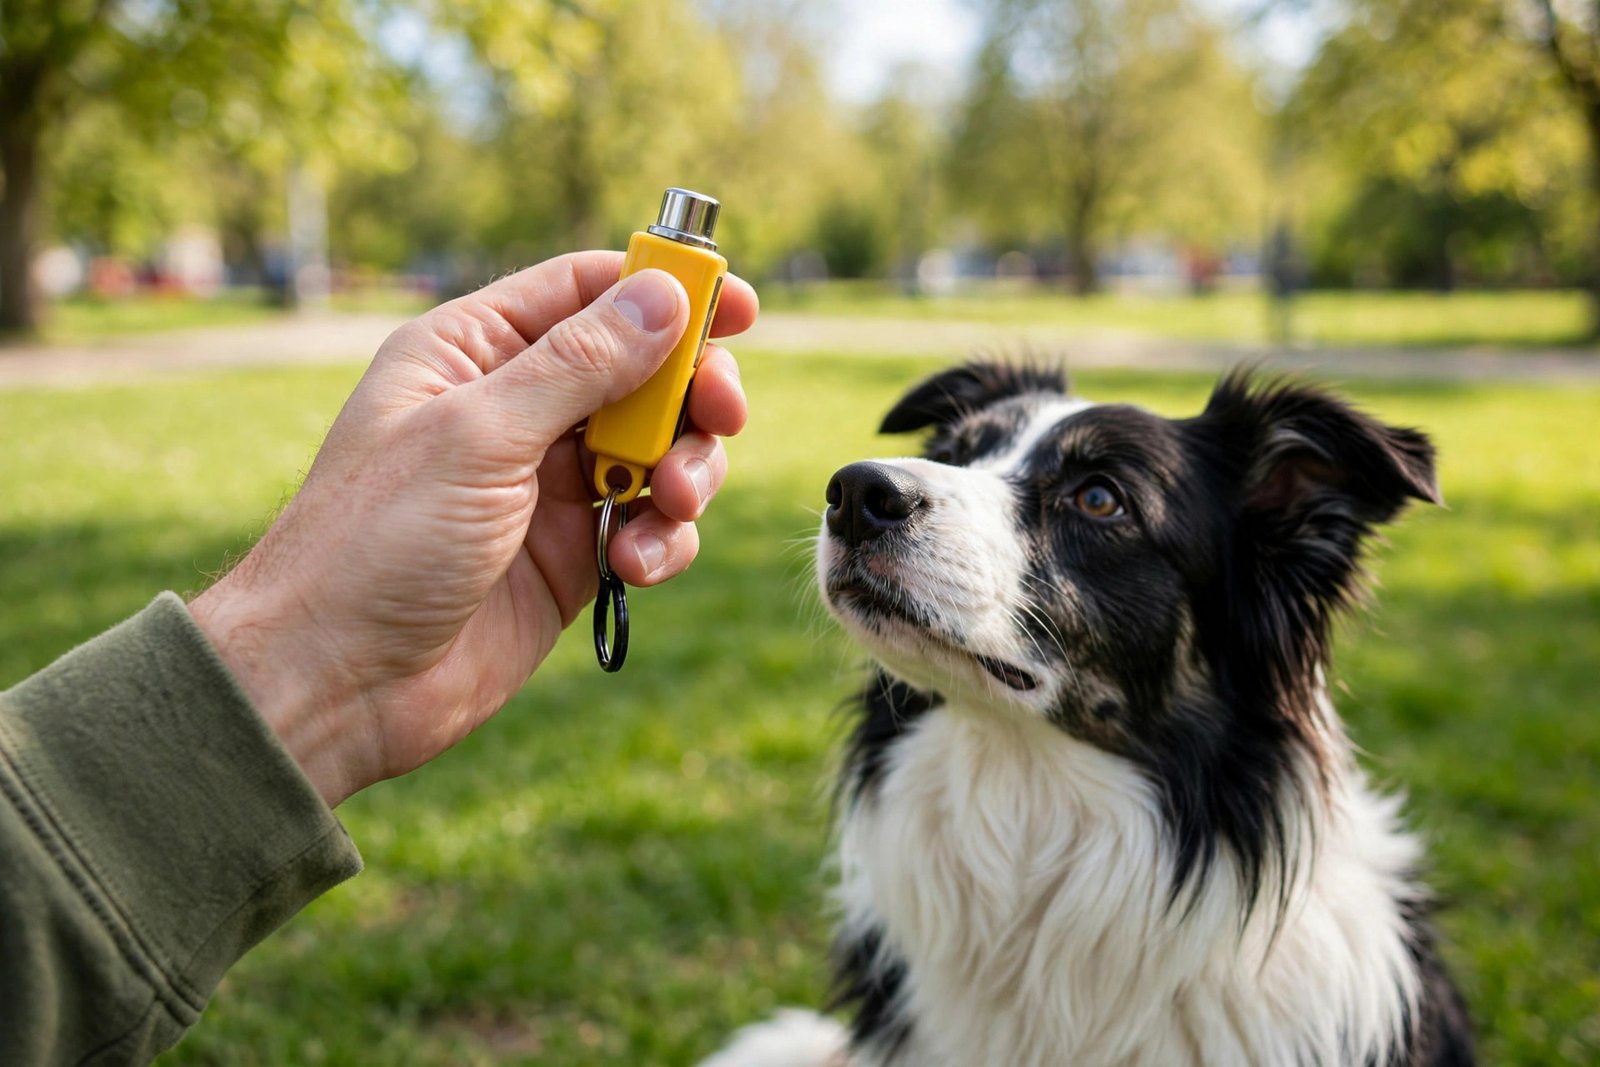
The clicker is a tiny plastic box that makes a clicking sound — one of the most powerful training tools ever invented, because it solves training’s core communication problem: how do you tell the animal, with split-second precision, “YES, that exact thing you just did is what I wanted”? One sharp, consistent sound, always meaning the same thing: you got it right, reward incoming.
This guide covers clicker training basics from zero: how the clicker works and why it beats voice-only marking, how to “charge” the clicker, your first three behaviors, and the mistakes that confuse dogs and frustrate owners.
Quick Tips
- The click marks the exact correct behavior — timing matters more than anything.
- Charge the clicker first: click → treat, repeated until the dog lights up at the sound.
- Click once per correct behavior, then treat every time while learning.
- Keep sessions to 3–5 minutes; end while the dog is still keen.
- The clicker is a teaching tool — fade it once behaviors are reliable.
- Never use the clicker to get attention or as a remote control.
How the Clicker Works (The 30-Second Science)
Clicker training is built on a simple piece of behavioral science: animals learn fastest when the gap between the correct behavior and the reward is as short as possible, and when the signal marking that moment is perfectly consistent.
Think about voice-only training: your dog sits, you say “good boy!” — but by the time the words come out, the dog has stood back up. Which moment did you mark? The dog cannot tell, and your voice sounds different every time.
The clicker fixes both problems. The click is instantaneous — you can mark the split-second the dog’s rear hits the ground. And it sounds identical every single time, in every mood, from every family member. It is a precision instrument for saying “THAT. That thing you just did. Yes.”
The click itself is not the reward — it is a promise of a reward. Through initial pairing (more below), the dog learns that click always means treat-is-coming. Once that association is solid, the click becomes a powerful motivator on its own, because it carries the full weight of every treat that ever followed it.
What You Need to Start
Almost nothing, which is part of the appeal:
A clicker. The classic box clicker costs a few dollars at any pet store. Button clickers are quieter (good for sound-sensitive dogs); box clickers are louder and crisper. A verbal marker like “yes!” also works — it is just less precise than the mechanical click. If you go verbal, use that word only as the marker.
Small, soft, high-value treats. Pea-sized, soft enough to eat in one second, and genuinely exciting to your dog. Commercial training treats work; tiny bits of real meat work better for most dogs. You will use a lot of them.
A treat pouch or pocket. Timing matters, and fumbling in a baggie across the room kills it. Wear the treats.
A quiet, low-distraction space. Living room, hallway, backyard — somewhere the dog can think. Distractions come later, gradually.
Step 1: Charge the Clicker
Before teaching anything, the dog needs to learn what the click means. This is called “charging” or “loading” the clicker, and it takes about five minutes:
Click, then treat. A dozen or so repetitions, with the treat following within a second or two of the click. Do not ask for any behavior — the dog can be standing, sitting, staring at the wall, it does not matter. You are building a pure association: click predicts treat.
You will know it worked when the dog hears the click and visibly reacts — ears up, eyes bright, looking at you expectantly. That orienting response means the click now means something. The clicker is charged.
One rule that starts now and never ends: every click is followed by a treat, no exceptions. The click is a promise. If you click accidentally, pay up anyway — deliver the treat with a smile. Breaking the promise even occasionally degrades the clicker’s power. This is the sacred contract of clicker training.

Step 2: Your First Behavior — The Hand Touch
The classic first clicker behavior is the nose touch to your palm (“touch”), because almost every dog offers it naturally and it teaches the core game: try things, and the click tells you when you got it right.
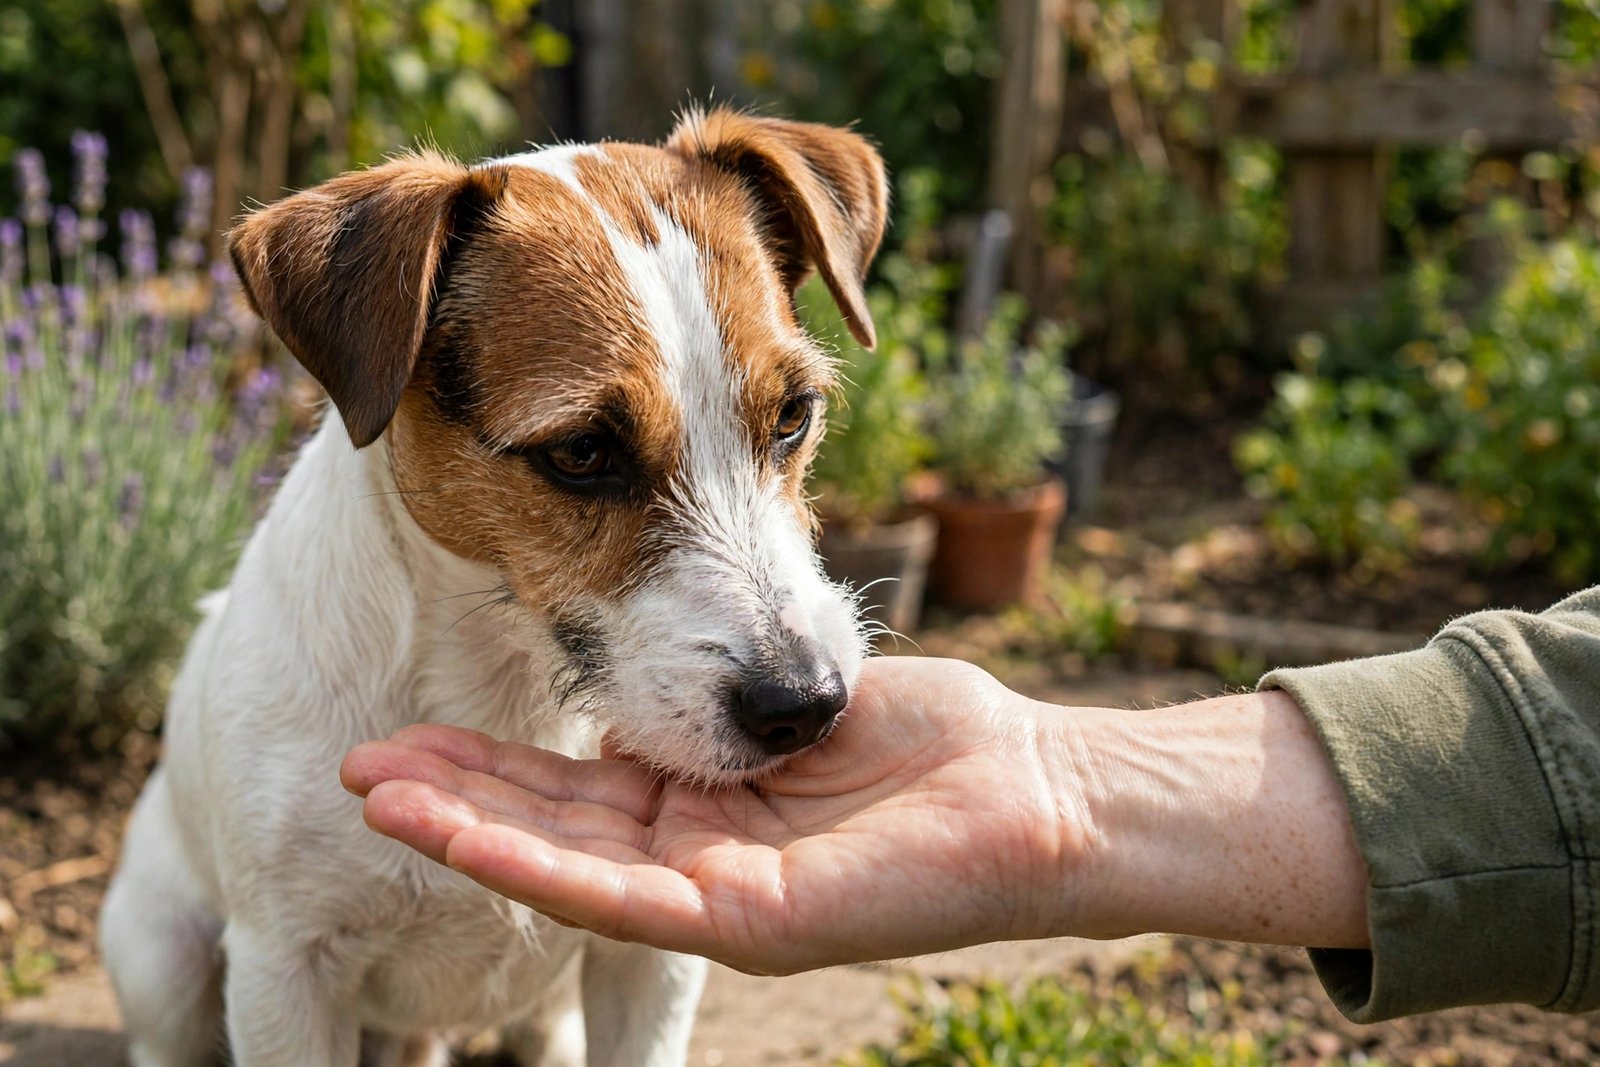
Hold your open palm a few inches from the dog’s nose. Most dogs will sniff or nudge it out of curiosity. The instant the nose touches your palm — click, treat. Repeat a few times, then start moving your hand: higher, to the side, a step away — the dog follows and touches, click and treat each time.
Congratulations: you just taught your first behavior, and more importantly, the dog just learned how to learn — offering behaviors makes clicks happen. This “offering” mindset is what makes clicker-trained dogs such enthusiastic learners, and the foundation for everything from basic manners (my sit training guide pairs naturally with clicker marking) to advanced tricks.
Step 3: Capturing, Luring, and Shaping
These are the three ways to get behaviors to mark. Every clicker trainer uses all three:
Capturing means clicking a behavior the dog offers on its own. Dog lies down spontaneously? Click, treat. Dog looks at you? Click, treat. Capturing is how you build calm, natural behaviors — it is especially good for “settle” and eye contact, the behaviors you cannot easily lure.
Luring means using a treat to guide the dog into position, then clicking the result. Hold a treat over the dog’s nose and move it back — the rear drops into a sit — click, treat. Luring is the fastest way to start a new behavior, with one caution: fade the lure within a few sessions, or the dog only performs when it sees the treat.
Shaping means building a complex behavior from tiny steps, clicking each approximation. Want the dog to go to its bed? Click for looking at it, then stepping toward it, then paws on it, then lying down. If the dog gets stuck, your steps are too big — split the last one in half.
Training Sessions That Work
Keep them tiny. Three to five minutes, one to three times a day. Clicker training is mentally intense for dogs — short sessions keep the dog sharp and eager. End while the dog still wants more.
One behavior at a time. Work on one new thing per session. Mixing three half-learned behaviors confuses the dog about what is being clicked.
Keep the click rate high. In early learning, the dog should earn a click every few seconds. If minutes pass between clicks, the behavior is too hard — make it easier.
End on a win. If the dog nails something, click, jackpot (several treats in a row), session over. The last thing the dog remembers colors the whole session.
Train before meals, not after. A slightly hungry dog works harder for food rewards. This is not about deprivation — just scheduling sessions before dinner rather than after.
Common Beginner Mistakes
Clicking late. The click must land during the behavior, not after. If you are consistently late, practice your timing without the dog first — bounce a ball and click at the exact bounce. Timing is a physical skill; it improves with practice.
Clicking without treating. Every click gets a treat. Every single one. “But he knows the behavior already” is not an exception — during the learning phase, the contract is absolute. (Fading treats comes later, and it is done by rewarding intermittently, not by breaking click-treat pairing.)
Using the clicker as a remote control. Clicking to get the dog’s attention, clicking to call the dog, clicking repeatedly in excitement — all of these dilute the click’s meaning. The clicker has one job: marking correct behavior. If you find yourself clicking for other reasons, put it in your pocket.
Moving too fast. Asking for the finished behavior before the foundations are solid. If the dog is failing more than succeeding, the steps are too big. Dog training progress is not linear — plateaus are normal, and going back a step is not failure, it is good training.
Training when frustrated. Dogs read human tension, and a tense session teaches the dog that training is stressful. If irritation rises, end with an easy win the dog already knows — there is always tomorrow.
Everyone using different rules. The clicker works best when the whole household uses it consistently — same marker, same rules, same behaviors. A family meeting and a shared treat pouch go a long way. This household-consistency principle runs through all training; my crate training guide makes the same point because it is that important.
Fading the Clicker (Graduation)
The clicker is a teaching tool, not a lifelong accessory. Once a behavior is reliable — the dog performs it promptly, in various locations, around distractions — you fade the clicker out:
First, stop clicking every rep: reward only the best repetitions, then reward intermittently. The behavior stays strong because the dog never knows which rep pays.
Then drop the clicker for that behavior while keeping it for whatever you are currently teaching. Most long-term clicker trainers end up with a clicker in the pocket for new skills and plain praise plus occasional treats for known ones. The precision tool did its job; the habit now runs on normal maintenance.
What you keep forever is the mindset: mark the exact right moment, reward generously, and set the dog up to succeed. That works with or without the little plastic box.
Frequently Asked Questions
Is clicker training only for dogs?
Not at all — the science works on any animal. Clicker training is widely used with cats, horses, rabbits, birds, and even zoo and aquarium animals. The mechanics are identical; only the rewards and session lengths change to suit the species.
Will my dog become dependent on treats?
Only if you never fade them. Reward continuously while learning, then intermittently once the behavior is reliable. Behaviors on unpredictable rewards are actually stronger — but you have to do the fading step.
My dog is scared of the click sound. What now?
Common with sensitive dogs. Muffle the click (click inside a pocket or behind your back), use a quieter button-style clicker, or switch to a verbal marker like “yes.” You can also desensitize gradually: very muffled click → treat, repeated, slowly increasing volume over sessions. Never force a frightened dog to “get used to it.”
Can I clicker train a puppy?
Yes — puppies are ideal clicker students. Their brains are primed for learning, sessions are naturally short (which suits the method), and the positive approach builds confidence. Start the day the puppy comes home; there is no minimum age for marker training.
What is the difference between a clicker and just saying “good dog”?
Precision and consistency. The click is faster (marking the exact moment) and sounds identical every time, while voice markers vary with your mood and arrive late. You can train with voice alone — many do — but the clicker is measurably sharper, especially for complex or fast behaviors.
Do I need to take a class to learn clicker training?
Not necessarily, but one good session with a qualified positive-reinforcement trainer can shortcut weeks of trial and error — mainly by fixing your timing, which is the hardest part to self-diagnose. Books and videos work too; the key is practicing the mechanics, not just understanding the theory.
[…] trainers pair treats with a marker signal like a clicker. If you have not explored that yet, this beginner’s guide to clicker training explains how the marker-treat pairing works, and the classic teaching your dog to sit walkthrough […]