

How to Teach Your Dog “Leave It” (Step-by-Step)
Of all the cues you can teach a dog, “leave it” might be the one that matters most in real life. It’s the cue that stops your dog from snatching a dropped pill off the kitchen floor or mouthing a chicken bone on the sidewalk. Unlike “sit” or “shake,” which are mostly about manners, “leave it” is genuinely about safety.
The good news: it’s one of the easier cues to teach. Most dogs pick up the basics within a few short sessions. Here’s the full step-by-step process, from first indoor practice to a reliable cue in the real world.
Quick Tips
- “Leave it” means “ignore that thing and look at me” — train it with rewards, never punishment.
- Start indoors with low-value treats, then gradually increase difficulty.
- Always reward with a BETTER treat than the one your dog left — never with the forbidden item itself.
- Keep sessions to 3–5 minutes; short and fun beats long and boring.
- Practice with real-life setups (dropped food, sidewalk trash) only after the basics are solid indoors.
- If your dog already swallowed something dangerous, skip training and call your vet or poison control immediately.
What “Leave It” Actually Means (and Doesn’t Mean)
Before you start, it helps to be clear about what you’re teaching. “Leave it” means: that thing you’re interested in? Ignore it completely and check in with me instead. It’s a redirect, not just a “stop.” The dog isn’t simply freezing — they’re making an active choice to disengage from the tempting thing and turn their attention to you.
This is different from “drop it,” which is the cue you use when the dog already has something in their mouth. “Leave it” is preventive — it stops the grab before it happens. Both cues are useful, but “leave it” is the one that keeps the chicken bone from entering the mouth in the first place.
One important note on expectations: a well-trained “leave it” is extremely reliable in familiar situations, but no cue is 100% in every possible scenario. A dog mid-chase after a squirrel may not respond, and that’s not a training failure — it’s biology.
What You’ll Need
The equipment list is short: some treats, a quiet room, and a few minutes. But the type of treats matters here, because “leave it” is built on a simple principle — the reward for leaving must be better than the thing being left.
Get two kinds of treats: boring ones (plain kibble or a basic biscuit) to use as the “temptation,” and high-value ones (small pieces of chicken or cheese) as the reward. The contrast is the whole point — if the reward isn’t better than the temptation, the dog has no reason to choose it.
Keep treats pea-sized. You’ll be doing a lot of repetitions, and you don’t want a stuffed, bored dog halfway through the session.
Step 1: The Closed Fist (Foundation)
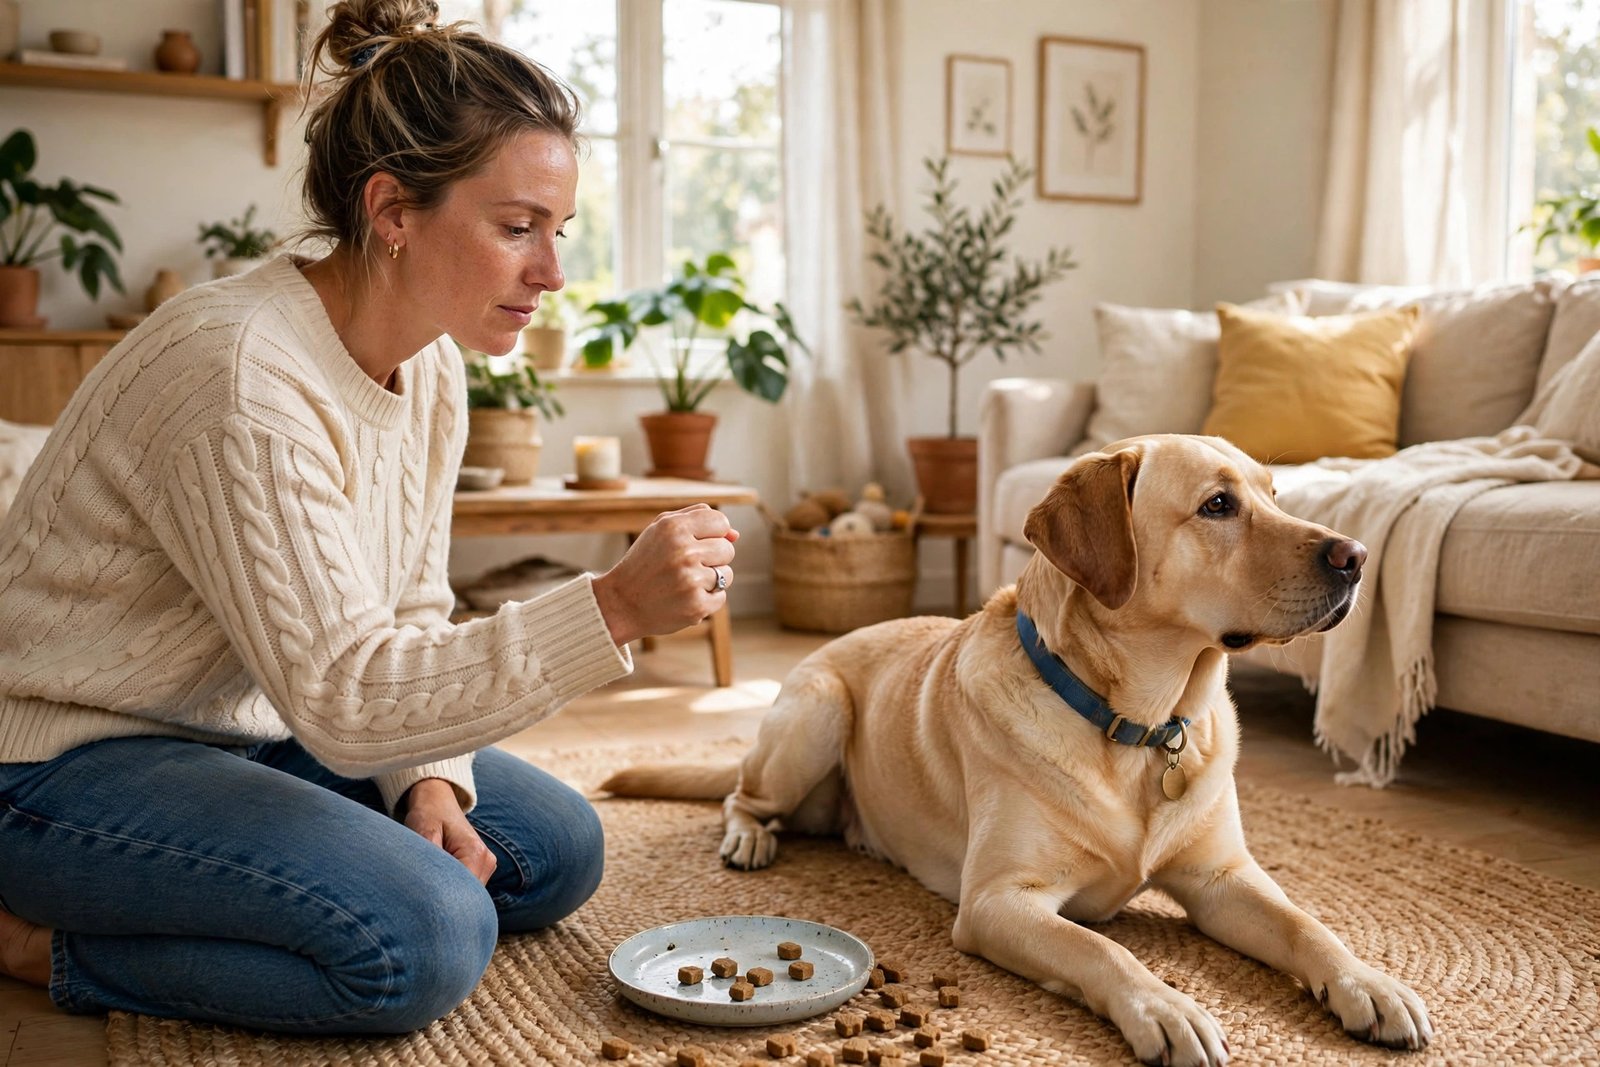
Start in a quiet room with minimal distractions. Put a boring treat in your closed fist and hold it out toward your dog at nose level. Your dog will sniff, nudge, paw, and lick your fist trying to get the treat. That’s fine — that’s the raw material you’re working with.
Now here’s the key part: do nothing. Don’t say anything, don’t pull your hand away, don’t scold. Just wait. Sooner or later your dog will pause, pull back slightly, or glance away from your fist. The instant that happens, mark it with a cheerful “yes!” and give them a high-value treat from your other hand.
This is the entire foundation of the exercise. The dog learns: backing away from the tempting thing makes something even better appear. Repeat 5–8 times per session. Most dogs start offering the “back away” faster and faster, sometimes within a single session.
Common mistake at this stage: opening the fist when the dog paws at it. If the dog ever succeeds in prying the treat out, they’ve learned that persistence pays — the exact opposite of the lesson. Keep the fist closed and boring.
Step 2: Adding the Cue Word
Once your dog is reliably backing off the closed fist, it’s time to name the behavior. Say “leave it” once, calmly, just as you present your fist. When the dog backs away, mark and reward with the high-value treat as before.
Notice the order: you say the cue before the dog acts, but only after the dog already understands the game. If you say “leave it” fifty times to a dog who has no idea what it means, the word just becomes background noise.
Say the cue once. If the dog doesn’t respond, don’t repeat it louder and louder — that teaches the dog that the cue is “leave it leave it LEAVE IT.” Just wait; the dog knows the game. If they’re truly stuck, make it easier rather than nagging.
Step 3: The Open Palm (Raising the Stakes)
Now the temptation gets harder. Place a boring treat on your open palm and hold it flat toward your dog. Cover it quickly with your other hand if the dog lunges — calmly, without scolding — and reset.
Say “leave it.” The dog should turn away from the visible treat. Mark and reward from your pocket or other hand — never give the dog the treat they just left. The forbidden item never becomes the reward, or the whole concept collapses.
Practice until the dog can ignore the treat on your open palm reliably. Then try placing the treat on the floor and covering it with your foot or hand, ready to block. Same rules: say the cue once, wait for the disengage, mark, and reward with the good stuff.
Step 4: Adding Distance and Real-Life Setups
Once the floor version works, start adding distance. Place a treat on the floor, step back a foot or two, and cue “leave it” from there. Gradually increase the distance over sessions — this builds the dog’s ability to disengage even when you’re not right next to the temptation.
Next, set up realistic scenarios indoors. Drop a piece of food “accidentally” near the dog and cue “leave it.” Each new scenario is a small step up in difficulty, so drop back to easier versions if the dog struggles — that’s not failure, it’s information about where their current limit is.
This is also the stage to start generalizing beyond food — trash, a crinkly wrapper, a sock. The principle is identical; only the temptation changes.
Step 5: Taking It Outside
Outdoor practice is where “leave it” earns its keep, and it’s also where everything gets harder. The outside world is full of smells, movement, and excitement that don’t exist in your living room. So treat the outdoors like starting over — go back to easy versions and rebuild.
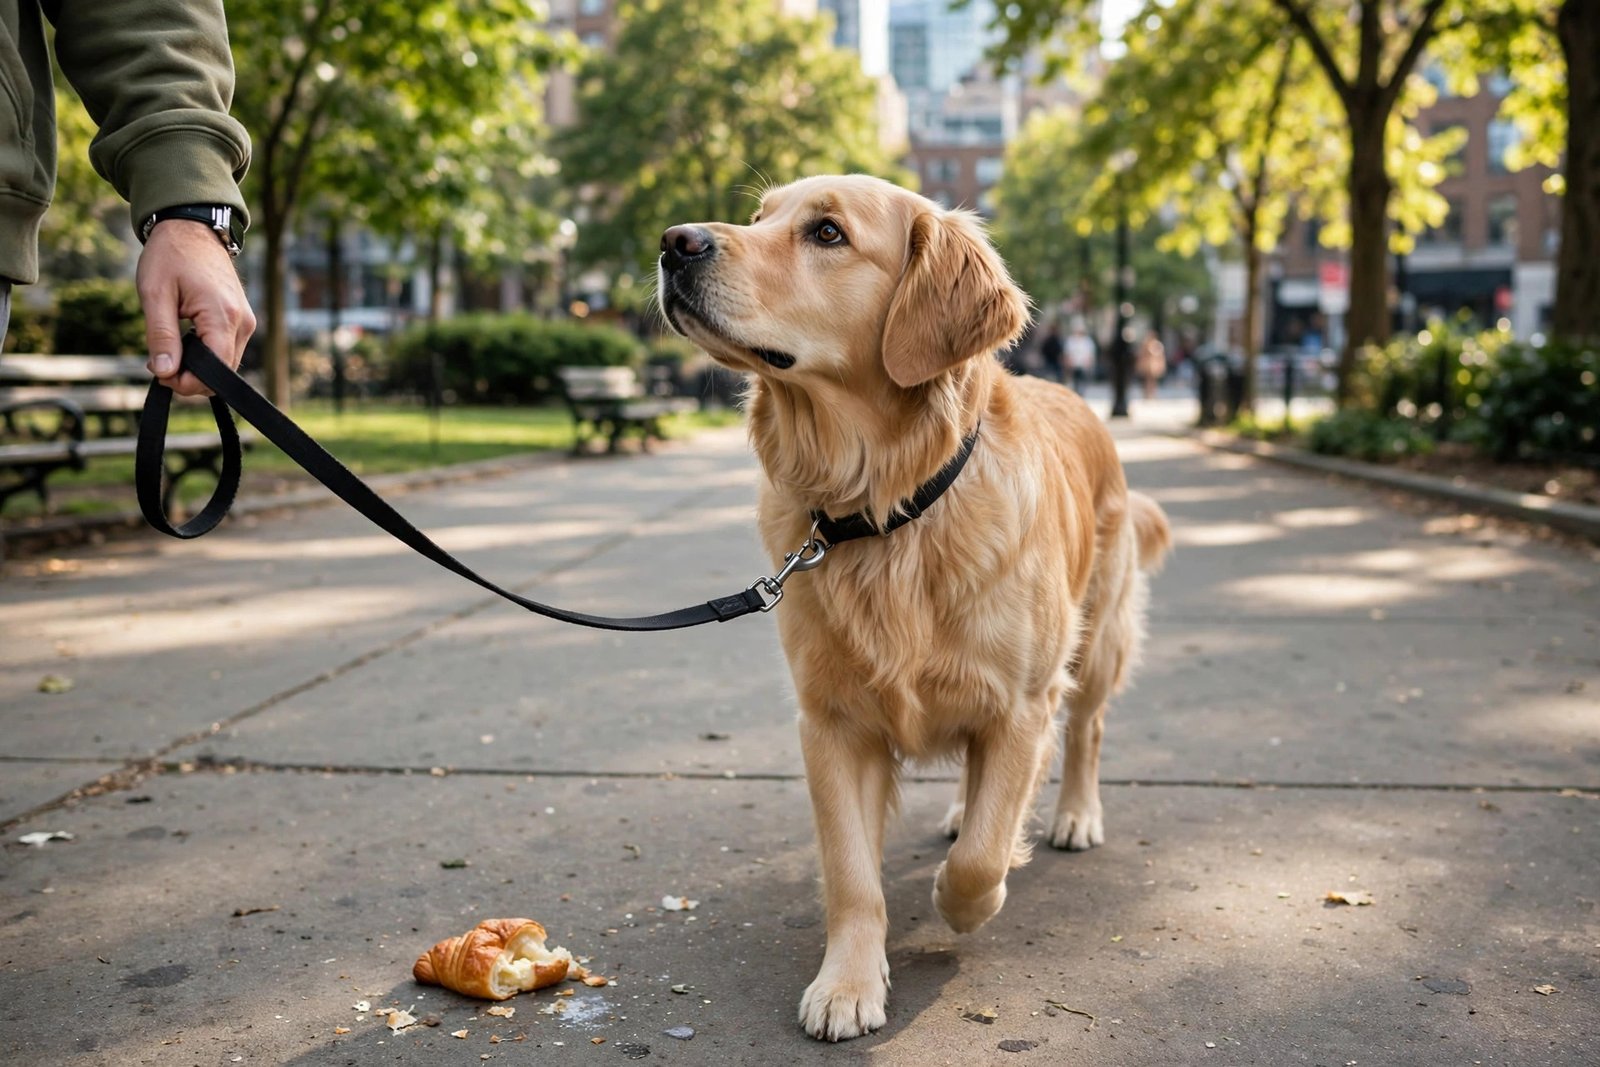
Begin in a boring outdoor spot: your own yard or a quiet stretch of sidewalk. Practice the same exercises at close range with boring temptations, then move to slightly more distracting environments. Keep your dog on leash during all of this — the leash is your safety net while the cue is still being proofed.
A practical setup many owners find useful: scatter a few boring treats on the ground along a short walking route, then walk your dog past on leash, cueing “leave it” at each one and rewarding generously. It turns an ordinary walk into a training session.
Be realistic about timelines. A solid indoor “leave it” might take a week; a reliable outdoor one often takes a month or more. That’s normal.
Troubleshooting Common Problems
“My dog only listens when I have treats visible.” The fix is to randomize: sometimes reward with a treat, sometimes with praise or a toy — but in the early months, keep food rewards frequent. Fade treats gradually rather than cutting them off suddenly.
“My dog leaves it, then dives back the second I relax.” Go back a step and reward longer durations — wait two seconds, then three, then five before marking. You’re teaching sustained disengagement, not a momentary flinch.
“It works at home but never on walks.” The environment is too distracting for the dog’s current level. Drop the difficulty: more distance from temptations, higher-value rewards, shorter sessions. If your dog can’t succeed, the setup is too hard, not the dog.
“My dog grabbed something dangerous before I could cue.” Don’t chase — chasing turns it into a keep-away game. Trade for something amazing instead. And if your dog swallowed something potentially toxic — medication, xylitol-containing products, grapes, or anything on a toxic foods list — skip training and contact your vet right away.
Building on “Leave It”: What’s Next
Once “leave it” is reliable, it pairs naturally with other impulse-control skills. A dog who can leave a treat on the floor is well on their way to learning a solid stay, since both cues are about self-control around temptation.
It’s also worth practicing “leave it” as part of your daily routine rather than only in dedicated sessions. Cue it when you drop food while cooking or when the dog shows interest in the trash. Real-life reps are what turn a trained behavior into a genuine habit.
Frequently Asked Questions
How long does it take to teach a dog “leave it”?
Most dogs learn the basic indoor version within a few days of short sessions. A reliable “leave it” around real-world distractions typically takes several weeks to a couple of months of consistent practice.
Should I punish my dog for not leaving it?
No. Punishment after the fact doesn’t teach the dog what to do instead, and it can make dogs sneakier about grabbing things. “Leave it” works because the dog learns that disengaging pays better than grabbing. Keep it positive, and manage the environment while training is in progress.
Can I use “leave it” for things other than food?
Absolutely — and you should. The same cue works for trash, animal droppings, other dogs, and anything else you want your dog to ignore. Train it first with food since food is easiest to control, then generalize using the same steps.
What’s the difference between “leave it” and “drop it”?
“Leave it” is preventive — the dog hasn’t touched the item yet. “Drop it” is for when the dog already has something in their mouth. Teach both; they cover different moments.
My dog knows “leave it” but ignores it on walks. What am I doing wrong?
Probably nothing — the walk environment is just much harder than your living room. Go back to easy outdoor setups with high-value rewards, keep the dog on leash, and increase difficulty gradually. If the dog is over threshold, add distance first.
[…] solid “leave it” cue is the perfect companion skill for mealtime manners. It gives you a polite way to redirect your dog […]