

Teaching Your Dog to Stay: A Patient Owner’s Guide
“Stay” is the command that humbles most owners. Sit takes an afternoon. Down takes a weekend. Stay takes weeks — and at some point, nearly everyone concludes their dog has a philosophical objection to it. The classic scene: you say “stay,” take one step back, and the dog pops up and trots after you with the cheerful expression of an animal who interpreted your instructions as “follow me, but make it fashion.” Volume is never the problem — the usual mistake is asking for too much, too fast, and rewarding too little.
The breakthrough insight most trainers share: teaching your dog to stay is really three separate skills — duration (staying put over time), distance (staying while you move away), and distraction (staying when interesting things happen) — and they have to be built one at a time. This guide is the patient version: the slow build that produces a stay you can actually trust, not a party trick that collapses the moment a squirrel appears.
Quick Tips
- Teach “stay” only after your dog knows “sit” or “down” reliably — stay is built on top of a solid stationary position.
- Build the three D’s separately: duration first, then distance, then distraction. Never increase two at once.
- Reward the dog in position — deliver treats while he’s still sitting or lying down, not after he gets up.
- Use a clear release word (“okay!” or “free!”) so the dog learns stay ends only when you say so.
- If the dog breaks, you asked for too much — calmly reset and make it easier. Breaking is information, not disobedience.
- Practice in short sessions (5 minutes) several times a day; stay is mentally tiring for dogs.
First: Why “Stay” Is Harder Than It Looks
From the dog’s perspective, “stay” is a bizarre request. You’re asking an animal built for movement and curiosity to do… nothing. On purpose. For an unspecified amount of time. While you walk away, which is the opposite of what the pack does. Sit and down are actions; stay is the absence of action sustained over time, and that makes it cognitively demanding in a way beginners underestimate.
This is why stay falls apart in real life even when it works in the kitchen. The dog isn’t being defiant — he’s doing exactly what his training prepared him for, which was “stay for six seconds in a boring room while nothing happens.” Real-world staying — at the vet’s door, on a sidewalk with dogs passing — is a different skill built on the same foundation. The foundation has to be genuinely solid first, which means weeks of boring practice, not days.
One more reframe that helped me: stay is impulse control training disguised as a command. Every successful repetition is your dog practicing self-regulation, and that generalizes. Dogs with solid stays tend to be calmer at doors, better at greetings, less frantic about food. You’re not just teaching a trick; you’re building the muscle of patience. If you haven’t nailed the prerequisite yet, start with my teaching sit guide — a rock-solid sit makes everything in this article twice as easy.
Setup: What You Need Before the First Rep
You need three things: a dog who can sit or down on cue, small soft treats, and a release word. The release word matters more than people think. Without one, the dog has to guess when stay is over — and dogs guess optimistically, usually at the three-second mark. Pick a word you don’t use in normal conversation (“okay” is risky if you say it constantly; “free,” “break,” or “release” are safer) and use it every single time, paired with obvious celebration.
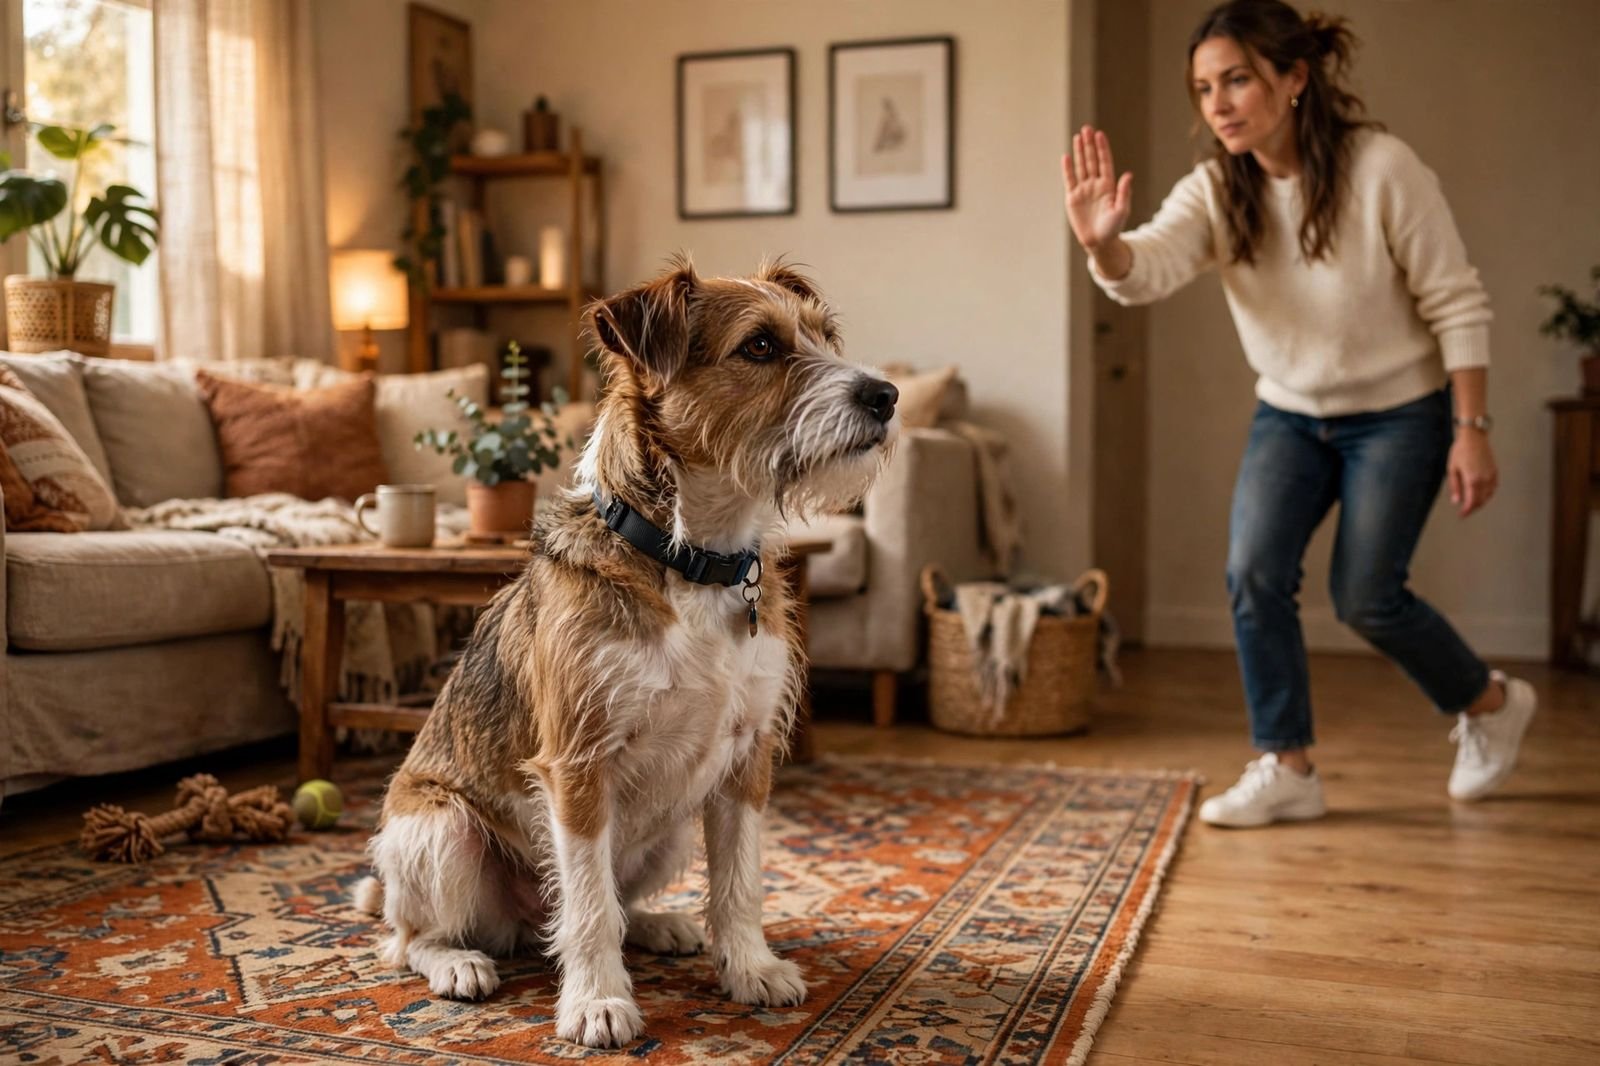
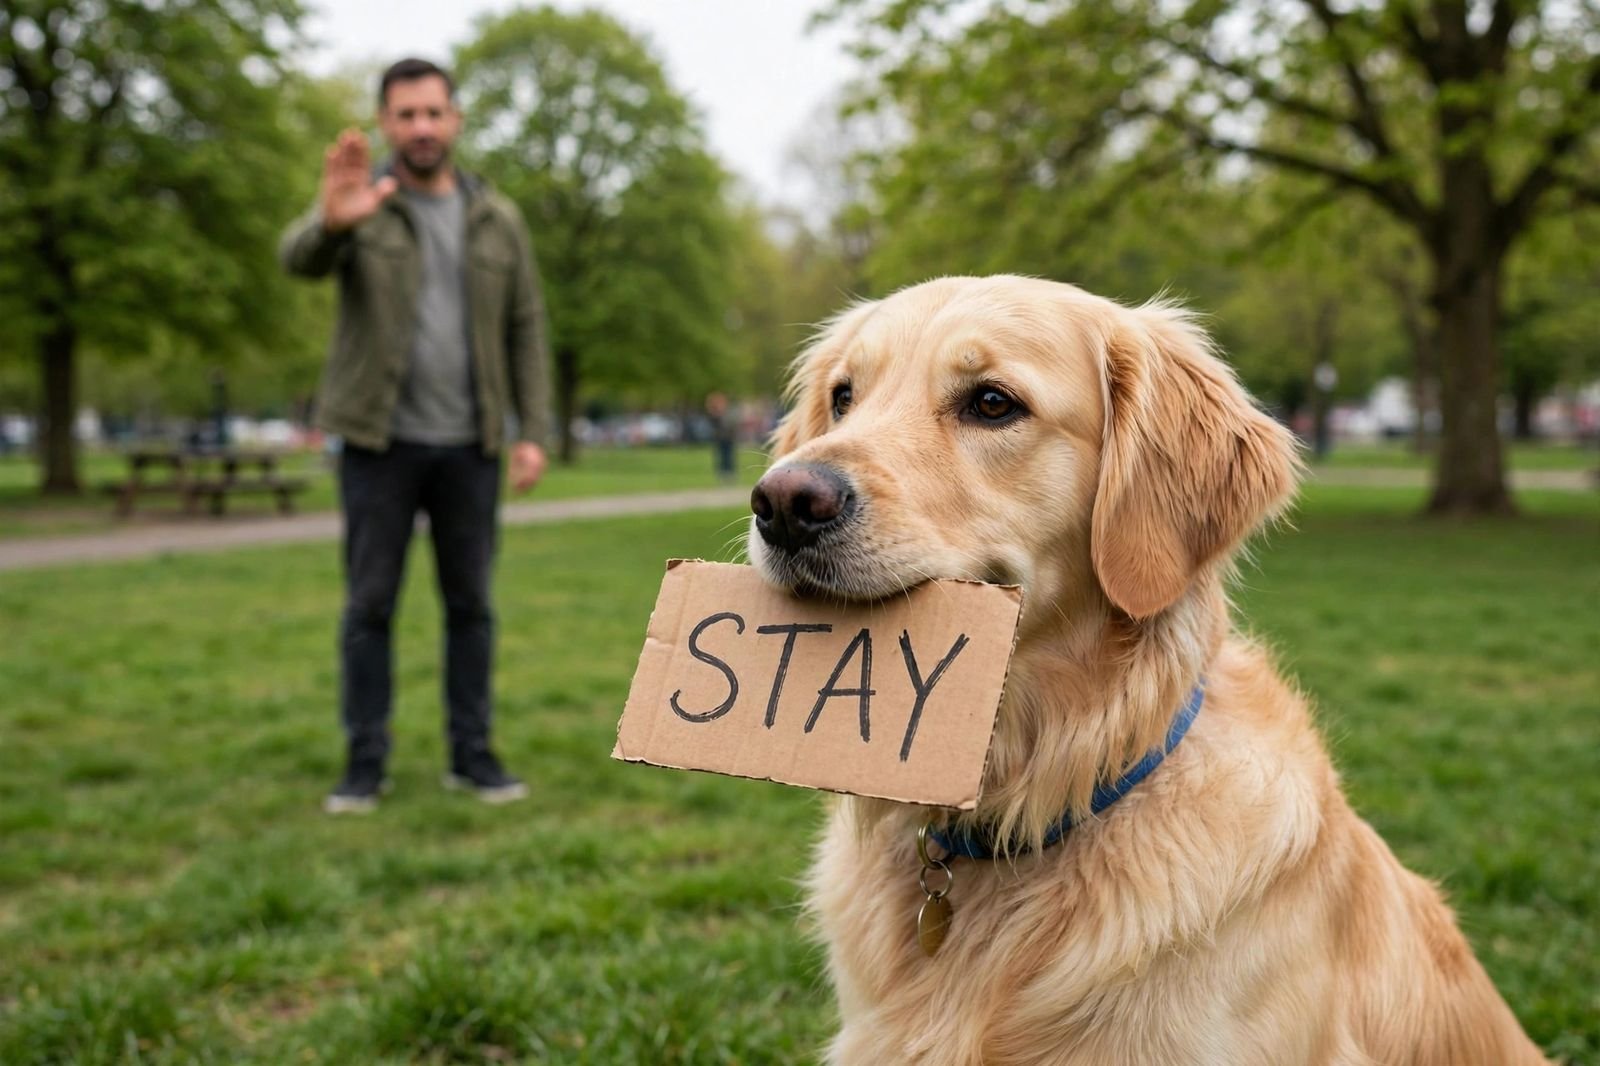
You’ll also want a hand signal — flat palm facing the dog, like a stop sign. Dogs read body language better than words, and a visual cue becomes invaluable at distance or in noisy environments.
Choose your training space deliberately: boring, familiar, low-distraction. A quiet corner of your living room. Not the park. Not the kitchen during dinner prep. You’re about to ask for something hard; make everything else easy. Sessions should be five minutes max — stay is mentally exhausting, and a tired dog doesn’t learn, he just gets frustrated.
Phase 1: Duration — The Boring Foundation (Week 1)
Duration means: the dog stays put while time passes, with you standing right there. This is where everyone should start and almost nobody does, because it feels too easy to matter. It matters enormously.
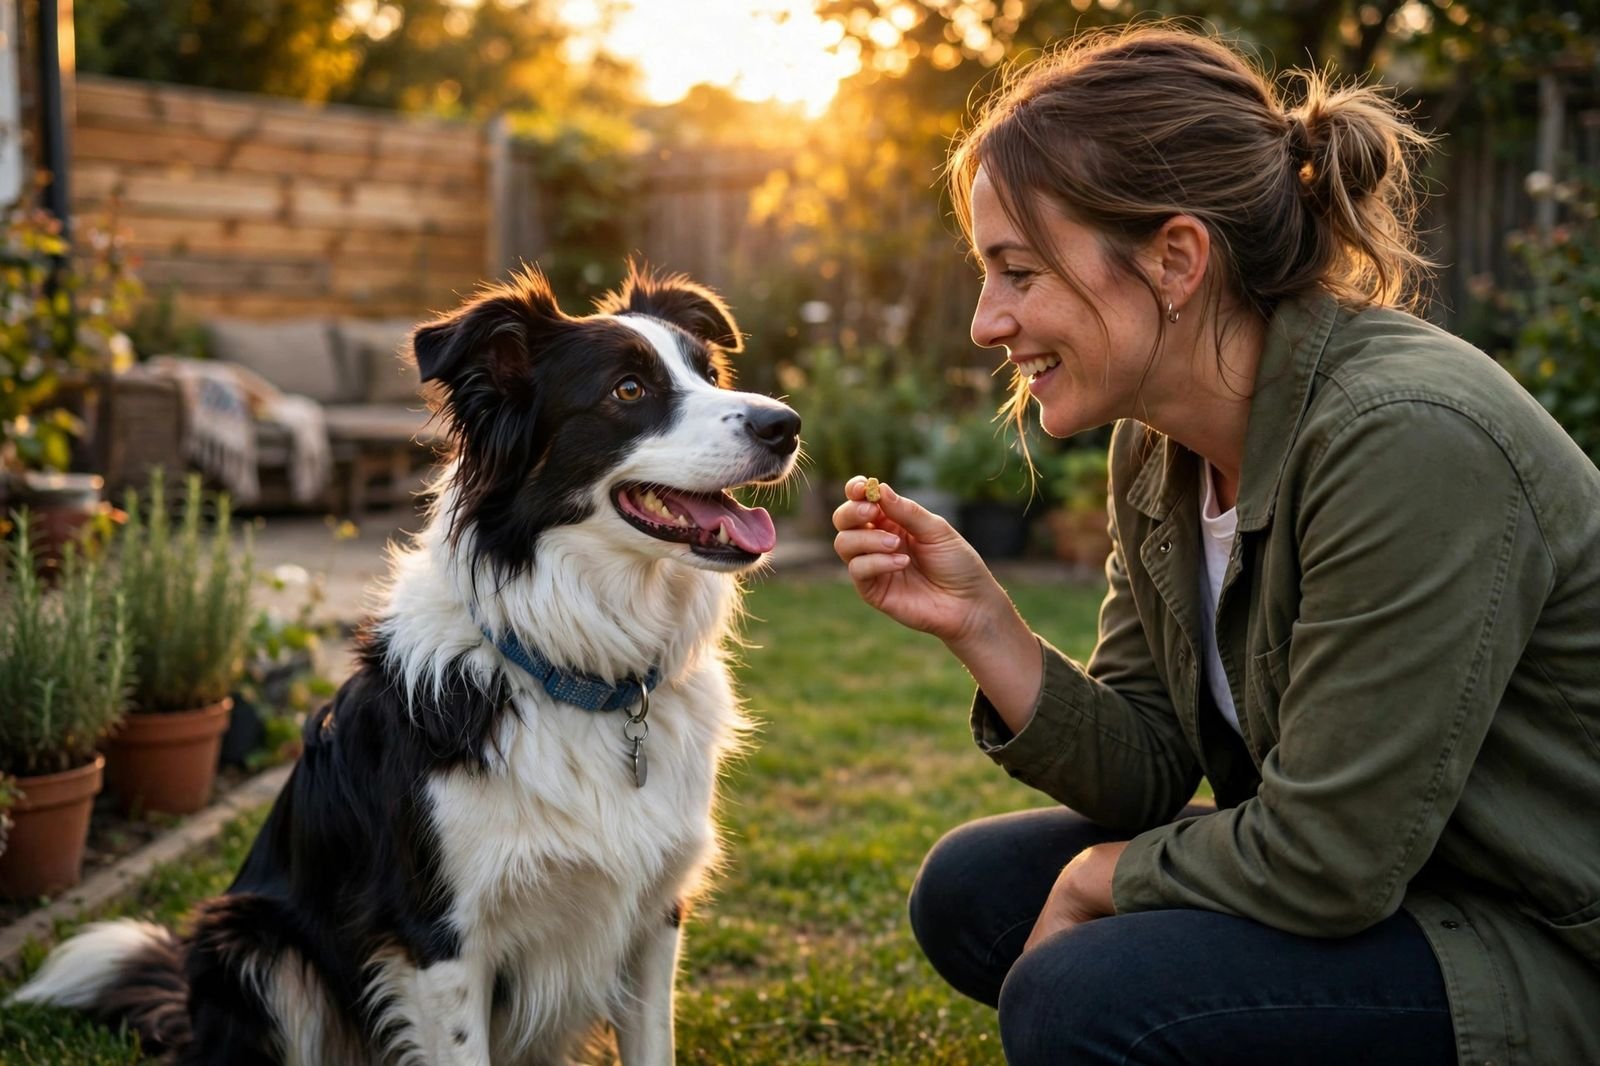
Ask for a sit. Say “stay” once — one time, calmly — with the palm signal. Count silently to two. Then, while the dog is still sitting, deliver a treat and say your release word with enthusiasm. That’s one rep. The critical detail: the treat arrives while he’s in position. If you treat after he gets up, you’ve rewarded getting up.
Over several short sessions, stretch the time: two seconds, then three, then five, then eight, then ten — varying the order rather than marching straight upward. Unpredictability teaches the dog that the release could come at any moment, so popping up early never pays. If he breaks (stands up before the release), don’t scold — just calmly reset, make the next rep easier, and carry on.
By the end of week one, aim for a reliable 15–20 second stay with you standing close. It will feel absurdly slow. It is also the foundation everything else stands on.
Phase 2: Distance — The Hard Part (Weeks 2–3)
Only when duration is solid at close range do you add distance — and you add it in inches, not yards. Ask for sit-stay, then take half a step back. Pause two seconds. Step back in, treat in position, release. That’s it. Half a step feels ridiculous. Do it anyway.
The rule for this entire phase: when you increase distance, decrease duration. New distance plus long duration is two new challenges at once, and that’s when stays collapse. One step back, two seconds. Two steps back, two seconds. Build each separately and they’ll combine naturally. Always return to the dog to reward and release — don’t call him to you out of the stay, or you teach him that stay ends with running to you, which is… not staying.
Body language matters enormously here. Face the dog as you step back; turning your back is a different exercise. Keep your movements calm and predictable — sudden moves trigger the chase instinct. Over a couple of weeks, work up to 10–15 feet indoors. Some dogs find distance easy once duration is solid; others find your movement away genuinely distressing. For the anxious ones, progress in even smaller increments and keep the vibe utterly boring. You’re teaching that you leaving and returning is the most unremarkable thing in the world.
Phase 3: Distraction — Proofing for Real Life (Weeks 4+)
Duration and distance in a quiet room are the rehearsal; distraction is the performance. And you proof gradually, the same way you built everything else. Start with mild distractions at close range and short duration: drop a treat on the floor nearby, have someone walk past the room, bounce a ball gently. If the dog holds, jackpot reward. If he breaks, the distraction was too hard — dial it back.
Build a distraction ladder over weeks: boring room → room with mild activity → yard → quiet sidewalk → busier environments. At each new level, drop your expectations back down — short duration, close distance — and rebuild. That’s how reliability is built.
The distractions that break stays are predictable: other dogs, food on the ground, squirrels, exciting people. Practice each deliberately at distances where your dog can succeed. A dog who can stay while a squirrel crosses the yard at twenty feet is learning; a dog failing at five feet is just rehearsing failure. Set up wins. If your dog’s biggest distraction is other dogs on walks, pairing this work with the loose-leash skills in my puppy training foundations article keeps the whole training picture consistent.
Common Mistakes (Most Owners Make All of These)
Repeating the cue. “Stay… stay… STAY.” Every repetition teaches the dog that the first one didn’t count. Say it once. If he breaks, you don’t need a louder stay — you need an easier exercise. One cue, then silence, then reward or reset.
Training all three D’s at once. Long duration plus big distance plus distractions equals a dog set up to fail. Change one variable at a time. This single rule, applied consistently, fixes most stay problems.
Rewarding the release instead of the stay. If the treat only comes after “okay!” when the dog is already moving, you’re rewarding movement. Deliver at least some treats while the dog is still holding position — reach in, treat, then release. The dog should think staying itself is profitable.
Getting frustrated. Stay training exposes every crack in your patience because progress is invisible day-to-day and obvious month-to-month. If you’re annoyed, end the session. The dog isn’t giving you a hard time; he’s having a hard time. There’s a difference, and he can tell which one you believe.
Putting It to Real Use
A trained stay earns its keep in daily life constantly: waiting at the front door instead of bolting, holding position while you put the food bowl down, staying on the sidewalk while a reactive dog passes, waiting at the vet’s office without chaos. Start using it in these real moments once the foundation is solid.
But be fair about when you ask for it. A fresh, unexercised adolescent dog asked to stay for two minutes while squirrels perform overhead is being set up to fail. Match the ask to the dog’s current ability, exercise level, and the environment. The goal was never a statue — it’s a dog who can hold himself together when it counts. Build it patiently, maintain it with occasional practice, and you’ll have one of the most useful behaviors in all of dog ownership.
Frequently Asked Questions
How long does it take to teach a dog to stay?
Expect 4–6 weeks of consistent short sessions to build a stay that’s reliable in everyday situations, and a few months before it’s truly solid around major distractions. Puppies and distractible adolescents take longer. It’s one of the slower commands to proof, and that’s normal — you’re building impulse control, not just a trick.
Should I teach stay from a sit or a down?
Either works, and ideally you’ll eventually have both. Sit-stay is the default for most daily situations (doors, sidewalks, greetings). Down-stay is more relaxed and better for longer waits like restaurant patios. Start with whichever position your dog holds more reliably.
My dog stays perfectly at home but not outside. Why?
Because “stay” hasn’t generalized — to your dog, the kitchen and the sidewalk are different planets. This is the most common stay problem and it’s fixed by proofing: rebuild duration and distance at each new distraction level, starting easy every time the environment changes.
What should I do when my dog breaks the stay?
Nothing dramatic. Calmly walk him back to the spot, reset, and make the next rep easier — shorter time, closer distance, less distraction. Breaking is feedback that you asked for too much, not defiance. Scolding a broken stay just makes the dog anxious about the exercise.
Is it okay to use treats forever for stay?
Yes, with fading. Early on, reward every rep generously. As the stay solidifies, shift to intermittent rewards — sometimes a treat, sometimes just praise, occasionally a jackpot. Occasional reinforcement actually makes behavior stronger (it’s the slot-machine effect). Just never fade to zero; even reliable dogs deserve a paycheck sometimes.
[…] even if you had to chase it down first. This pairs naturally with the patience-first approach in my teaching your dog to stay guide — both commands live or die on the dog’s trust that listening […]
[…] impulse-control skills. A dog who can leave a treat on the floor is well on their way to learning a solid stay, since both cues are about self-control around […]
[…] outdoor café. A solid “down” is a portable off-switch, and it pairs beautifully with teaching your dog to stay, which gets much easier once down is […]